
Organizations need user-friendly ways to build AI assistants that can reference enterprise documents while maintaining document security. This post shows how to use Amazon Q Business to create an AI assistant that provides clickable URLs to source documents stored in Amazon Simple Storage Service (Amazon S3), to support secure document access and verification. Amazon Q Business is a generative AI-powered conversational assistant that answers questions and completes tasks based on the information in your enterprise systems and enhances workforce productivity.
In this post, we demonstrate how to build an AI assistant using Amazon Q Business that responds to user requests based on your enterprise documents stored in an S3 bucket, and how the users can use the reference URLs in the AI assistant responses to view or download the referred documents, and verify the AI responses to practice responsible AI. You can follow the instructions in this post to build an AI assistant either using the provided sample dataset or your own dataset, and interact with it using the Amazon Q Business web experience and API.
Solution overview
You can build a secure AI assistant for your employees where the AI responses are based on a set of enterprise documents. You store the documents in an S3 bucket and configure the S3 bucket as a data source, or upload the files directly to your Amazon Q Business application from the Amazon Q Business console. Authenticated users subscribed to the Amazon Q Business application can interact with your AI assistant using the Amazon Q Business web experience from their web browsers or with a custom application built by your organization. The Amazon Q Business powered AI assistant provides source attributions to each response with clickable URLs pointing to the documents from which the response is generated. The users can use the URLs to access the reference documents securely, to get more information and practice responsible AI, without requiring the credentials to the S3 bucket where the documents are stored, and the Amazon Q Business application validates the authorization of the authenticated user accessing URL before letting the user view or download a document.
The following diagram shows the internal workings of Amazon S3 clickable URLs, including how the document contents are staged in an S3 bucket during ingestion, and how the workflow of the GetDocumentContent API lets the user securely view or download the document using the URL links.
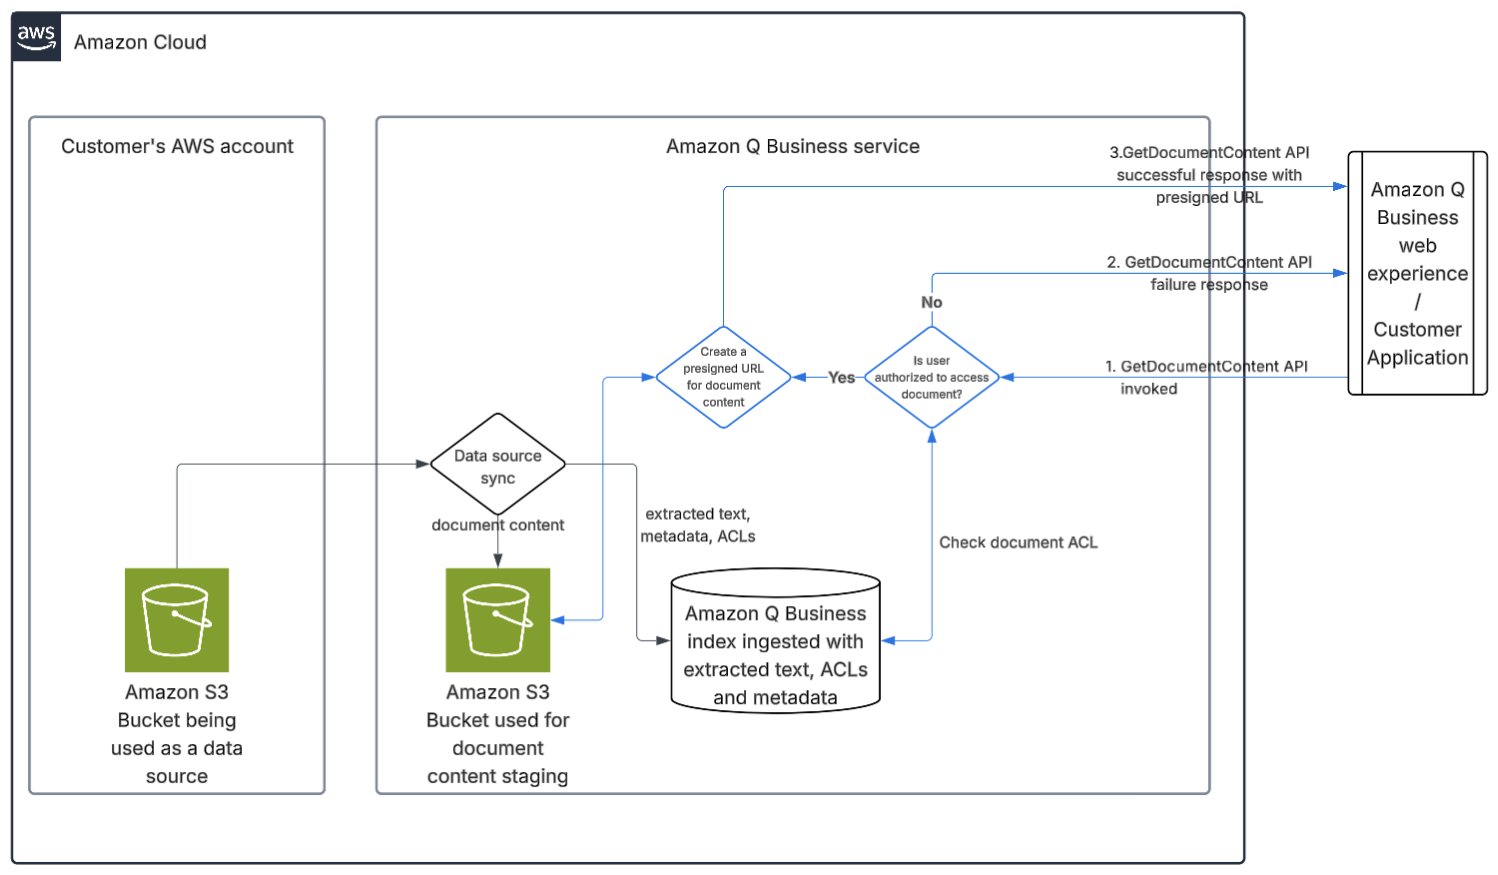
An S3 bucket containing the enterprise documents to be used by the AI assistant is configured as a data source for an Amazon Q Business application. When the data source is synchronized for the first time, the Amazon Q Business S3 connector crawls the customer’s bucket and ingests the documents, along with their metadata and access control lists (ACLs). During ingestion, the content of each document is stored by Amazon Q Business in a staging S3 bucket in the Amazon Q Business service account. The text extracted from the document, along with the metadata and ACLs, are ingested in an Amazon Q Business index. On subsequent data source sync operations, documents that have changed or are newly added to the customer’s S3 bucket are reingested, their contents are added or updated in the staging bucket, and the contents of the documents deleted from the customer’s S3 bucket are deleted from the staging bucket.When you upload the files directly, the files are processed in a similar way, by storing the document content in the staging bucket and ingesting the extracted text and metadata in the index.
When an authenticated user asks a question or writes a prompt to the AI assistant using the Amazon Q Business web experience or a customer developed application, the UI layer of the application invokes the Chat or ChatSync API. The response to the API includes the source attributions, source reference URLs, and passages from the indexed document that were used as context for the underlying large language model (LLM) to generate the response to the user’s query. When the user chooses a reference URL pointing to a document ingested using the Amazon S3 data source or files uploaded directly, the UI layer is required to invoke the GetDocumentContent API (labeled 1 in the preceding diagram) to obtain the contents of the document to be displayed or downloaded. Chat, ChatSync, and GetDocumentContent APIs can only be invoked using identity-aware credentials of the authenticated user.
Upon receiving the GetDocumentContent API, Amazon Q Business uses the user identity from the identity-aware credentials, retrieves the ACLs for the document being requested, and validates that the user is authorized to access that document. On successful validation, it generates a pre-signed URL for the document content object stored in the staging bucket, and returns it to the UI in response to the GetDocumentContent API call (labeled 3 in the preceding diagram). If the authorization validation fails, an error is returned (labeled 2 in the preceding diagram).
The UI layer can then use the pre-signed URL to display the document content in the web browser or download it to the user’s local computer. Requiring identity-aware credentials and authorization validation makes sure only authenticated users authorized to access the document can view or download the document content. The validity of the pre-signed URL is restricted to 5 minutes. After the pre-signed URL is made available to the user and the document content is downloaded, Amazon Q Business or AWS does not have control of the pre-signed URL, as well as the document content, and following the shared security responsibility model, it is the customer’s responsibility to secure the document further.
To get a hands-on experience of Amazon S3 clickable URLs, follow the instructions in this post to create an AI assistant using an Amazon Q Business application, with an S3 bucket configured as a data source, and upload some files to the data source. You can use the provided sample data SampleData.zip or choose a few documents of your choice. You can then use the Amazon Q Business web experience to ask a few questions about the data you ingested, and use the source reference URLs from the responses to your questions to view or download the referenced documents and validate the responses you got from the AI assistant. We also show how to use the AWS Command Line Interface (AWS CLI) to use the Amazon S3 clickable URLs feature with the Amazon Q Business API.
Considerations for using Amazon S3 clickable URLs
Consider the following when using Amazon S3 clickable URLs:
- At the time of writing, the Amazon S3 clickable URLs feature is available on Amazon Q Business applications using AWS IAM Identity Center or IAM federation for user access management, and not available for Amazon Q Business applications created using anonymous mode. If you already use an Amazon S3 data source for your Amazon Q Business application, you must perform a full sync of the data source for the Amazon S3 clickable URLs feature to be available to your users. If you already use an Amazon Q Business web experience for your users to interact with your AI assistant, you must add the following permissions to the AWS Identity and Access Management (IAM) role for the Amazon Q Business web experience:
Prerequisites
To deploy the solution using the instructions in this post in your own AWS account, make sure that you have the following:
- An AWS account Amazon S3 and AWS IAM Identity Center permissions Privileges to create an Amazon Q application, AWS resources, and IAM roles and policies Basic knowledge of AWS services and the AWS CLI Follow the steps for Setting up for Amazon Q Business if you’re using Amazon Q Business for the first time
Create your S3 bucket and upload data
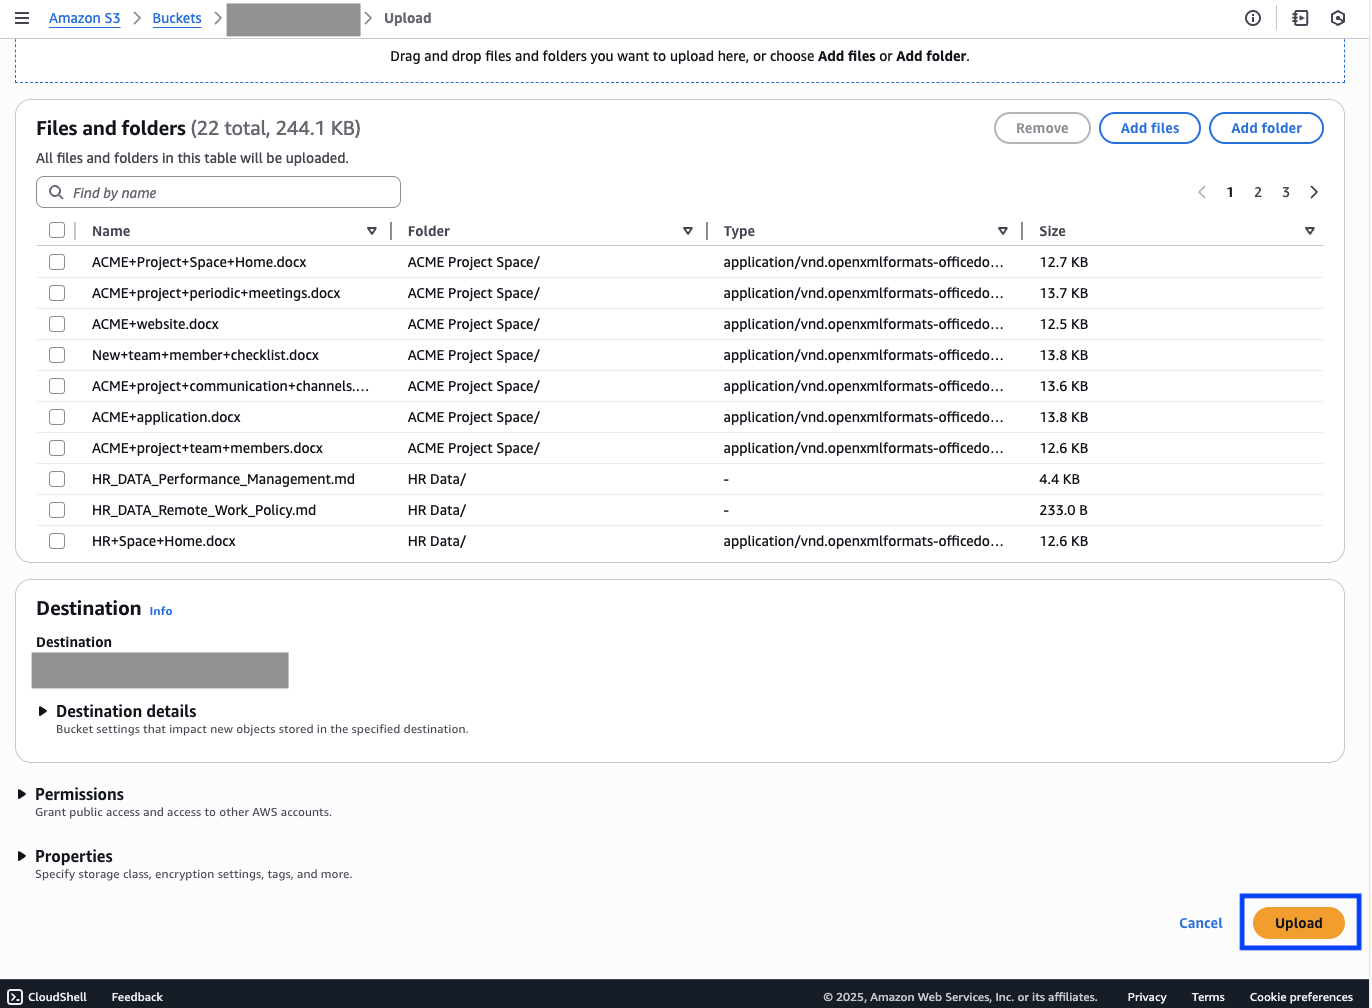
Choose an AWS Region where Amazon Q Business is available, keeping in mind that you must create all the AWS resources in this example in this Region. If you already have an S3 bucket with a few documents uploaded, you can use it for this exercise. Otherwise, for instructions to prepare an S3 bucket as a data source, refer to Creating a general purpose bucket. Download and unzip SampleData.zip to your local computer. Open the S3 bucket you created on the Amazon S3 console and upload the contents of the ACME Project Space, HR Data, and IT Help folders to the S3 bucket.
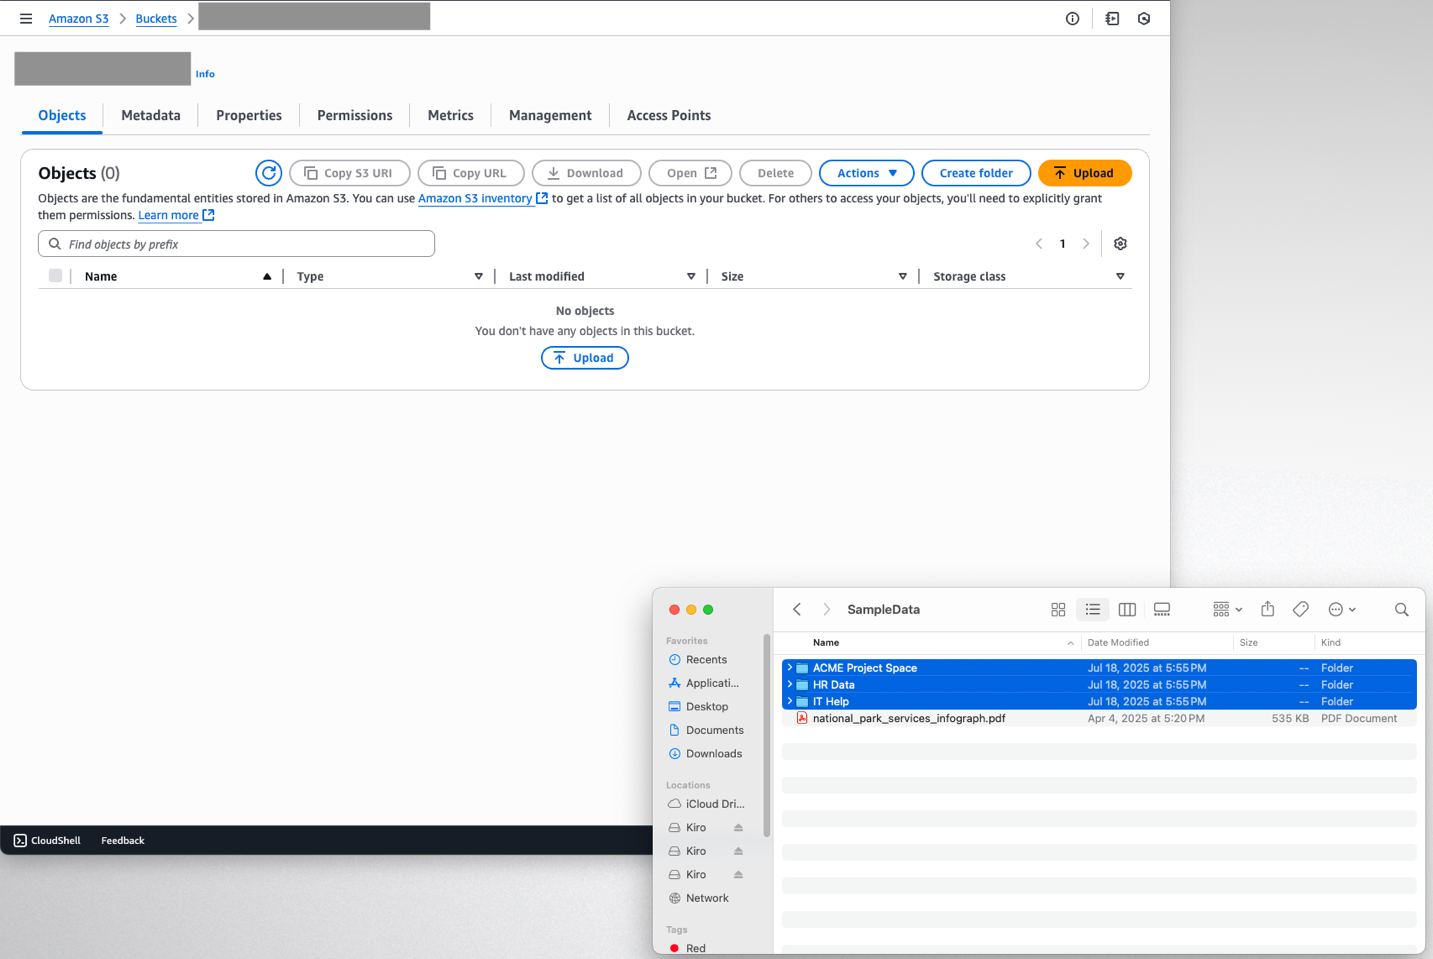
The following screenshot shows the list of uploaded files.
Create an Amazon Q Business application
Depending on your choice of user access management method, create an IAM Identity Center integrated Amazon Q Business application or an IAM federated Amazon Q Business application. At the time of writing, Amazon S3 clickable URLs are not available for Amazon Q Business applications with anonymous access.
To create an IAM Identity Center integrated Amazon Q Business application, complete the following steps:
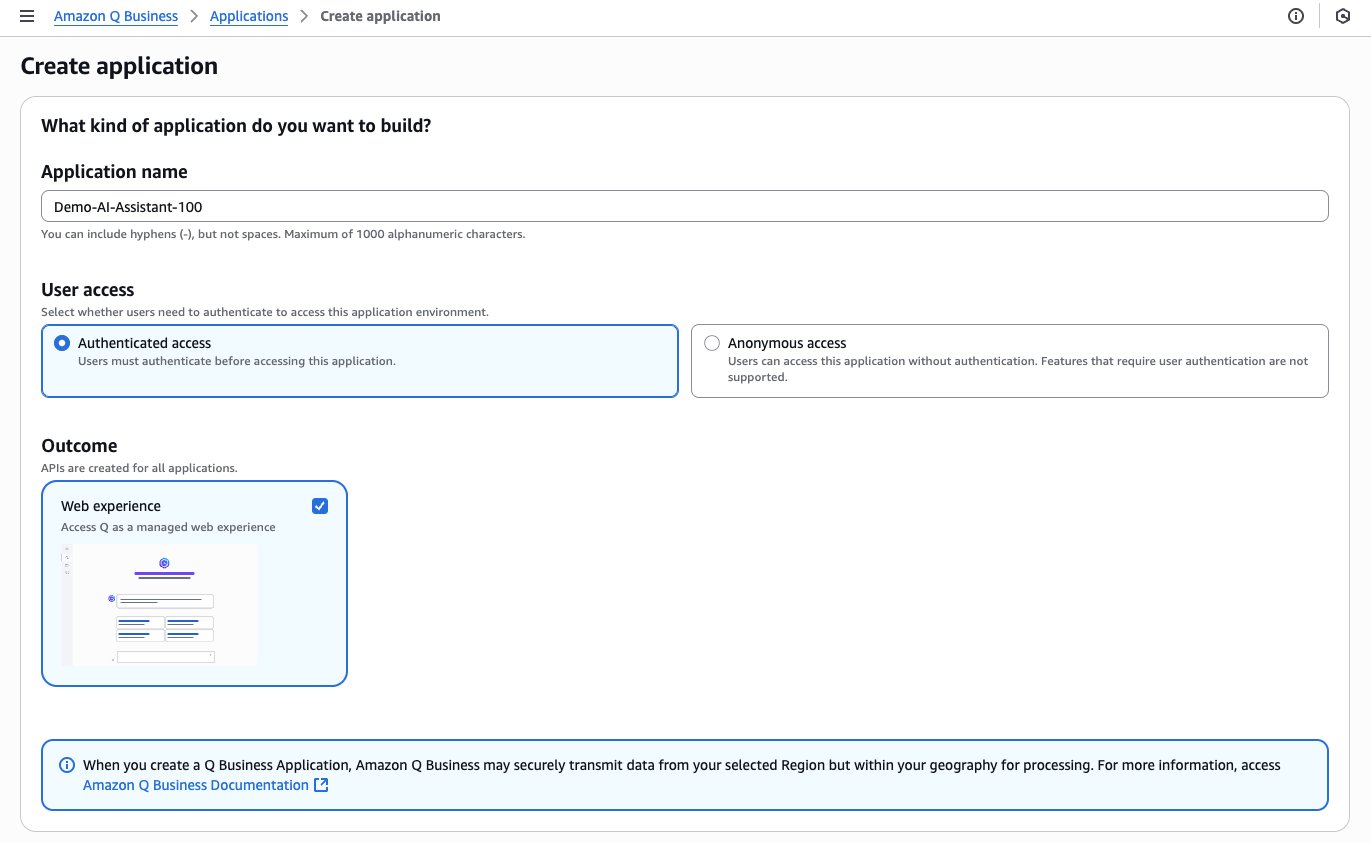
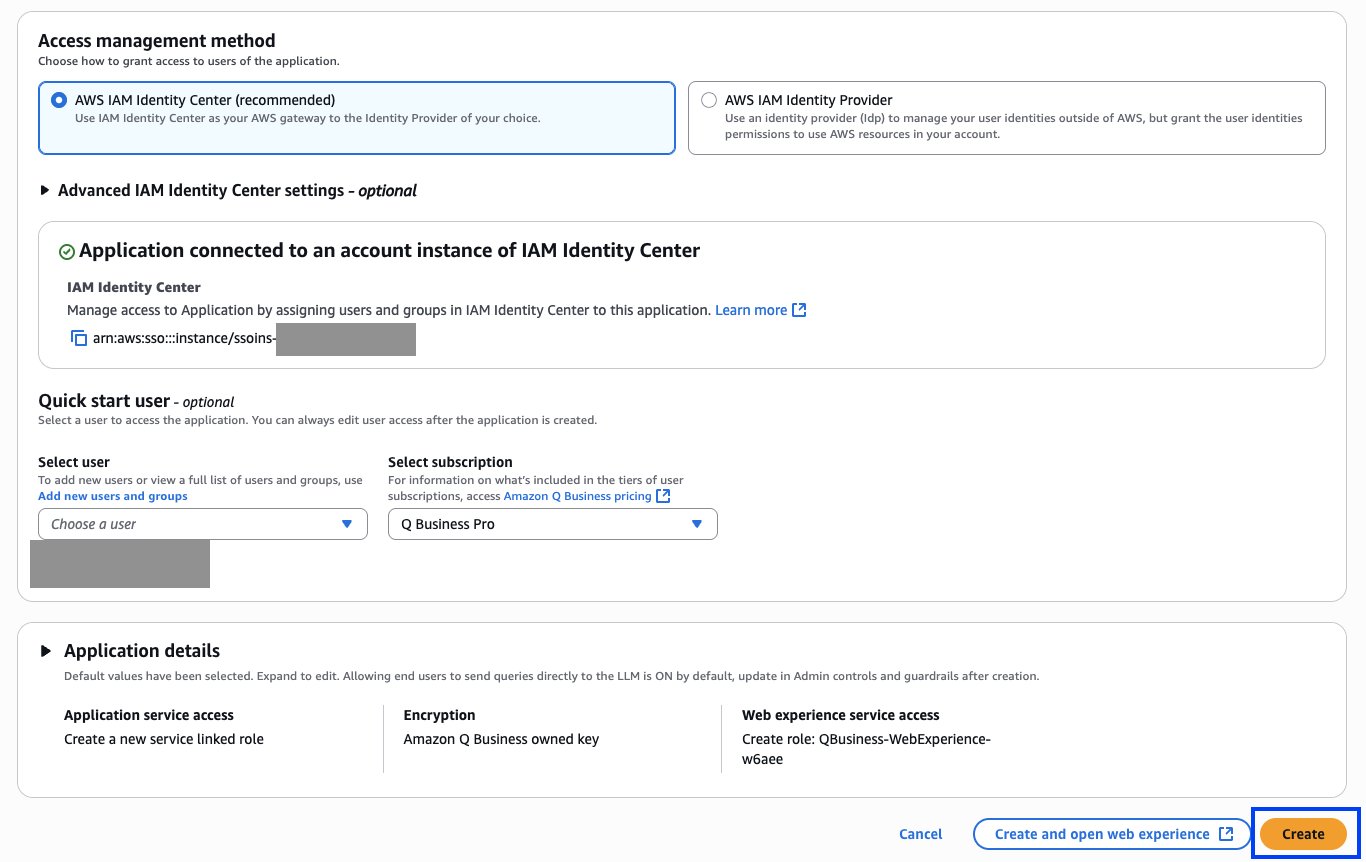
- On the Amazon Q Business console, choose Applications in the navigation pane. Choose Create application. For Application name, enter a unique name or use the automatically generated name. For User access, select Authenticated access. For Outcome, select Web experience.
- For Access management method, select AWS IAM Identity Center.
If IAM Identity Center is correctly configured either in your account or in the AWS Organization to which your account belongs, and is in the same Region, you will see a message about the application being connected to the IAM Identity Center instance.
- Choose the users who will have access to this application and their subscription tiers. For this post, both Q Business Pro and Q Business Lite subscription tiers will work. Choose Create.
Create an index
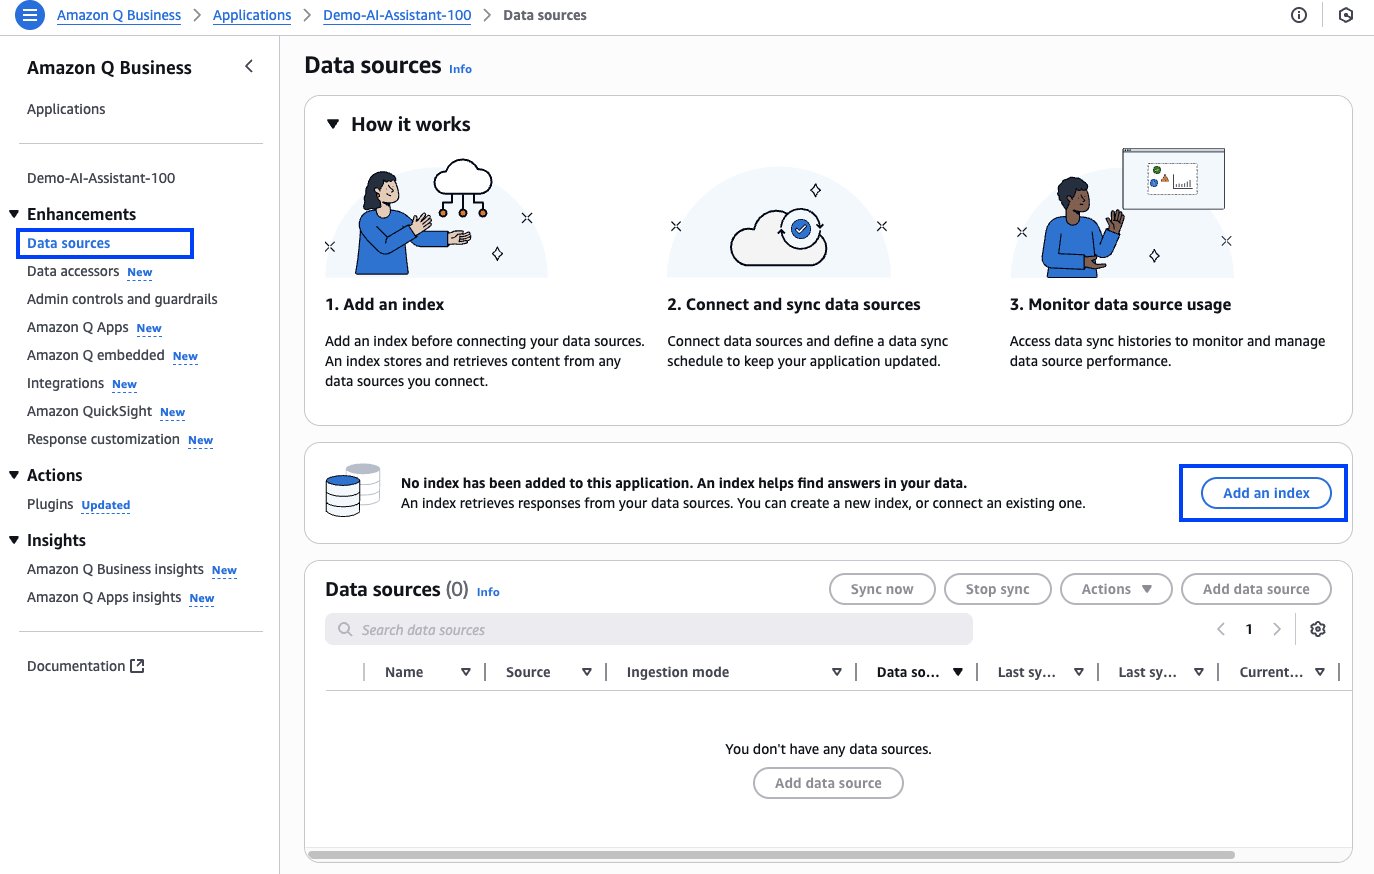
In preparation to configure data sources, you must first create an index. Complete the following steps:
- On the Amazon Q Business console, choose Applications in the navigation pane. Open your application. Under Enhancements in the navigation pane, choose Data sources. Choose Add an index.
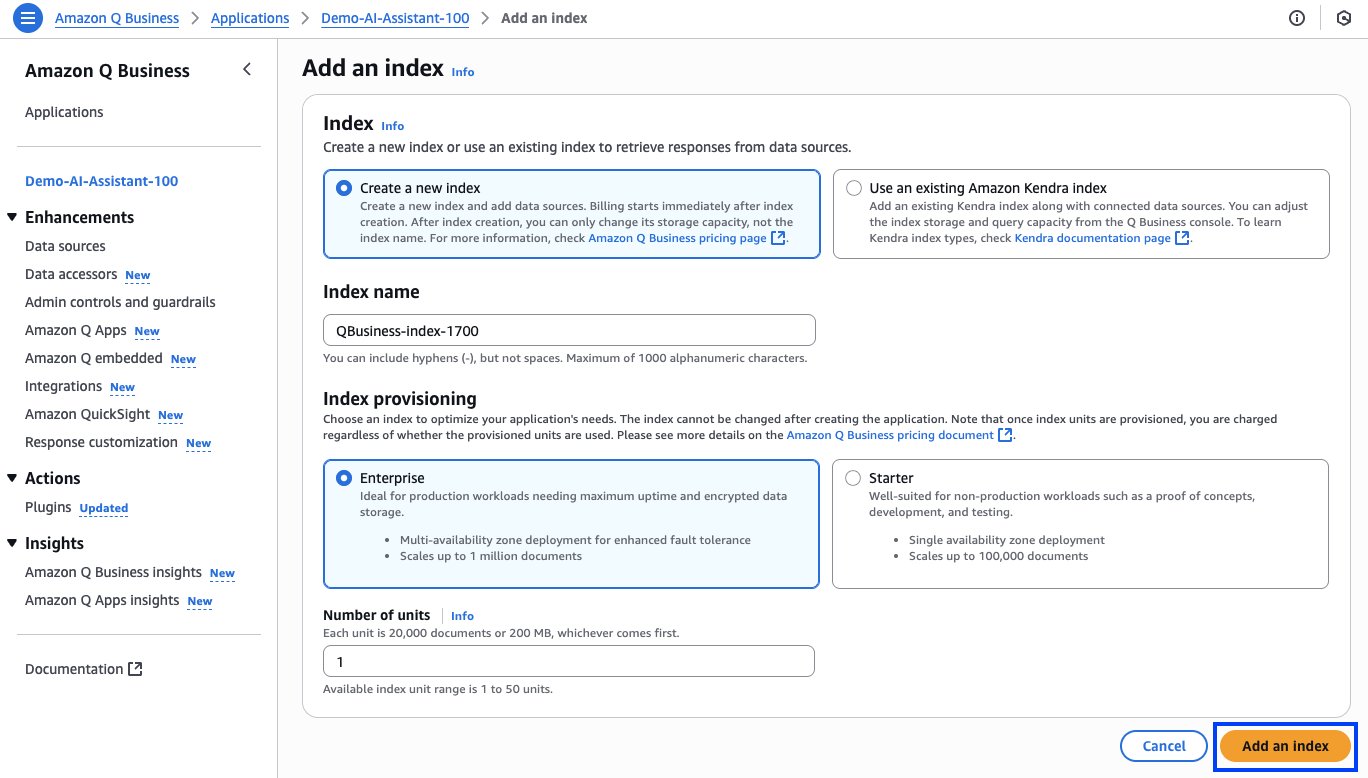
- Select create a new index. For Index name, keep the automatically generated name. For Index provisioning, select your preferred provisioning method. For this post, either Enterprise or Starter will work. Leave Number of units as 1. Choose Add an index.
The creation process takes a few minutes to complete.
Create data sources
To configure your Amazon S3 data source, complete the following steps. For more details, refer to Connecting Amazon Q Business to Amazon S3 using the console.
- On the Amazon Q Business console, choose Applications in the navigation pane. Open your application. Under Enhancements in the navigation pane, choose Data sources. Choose Add data source.
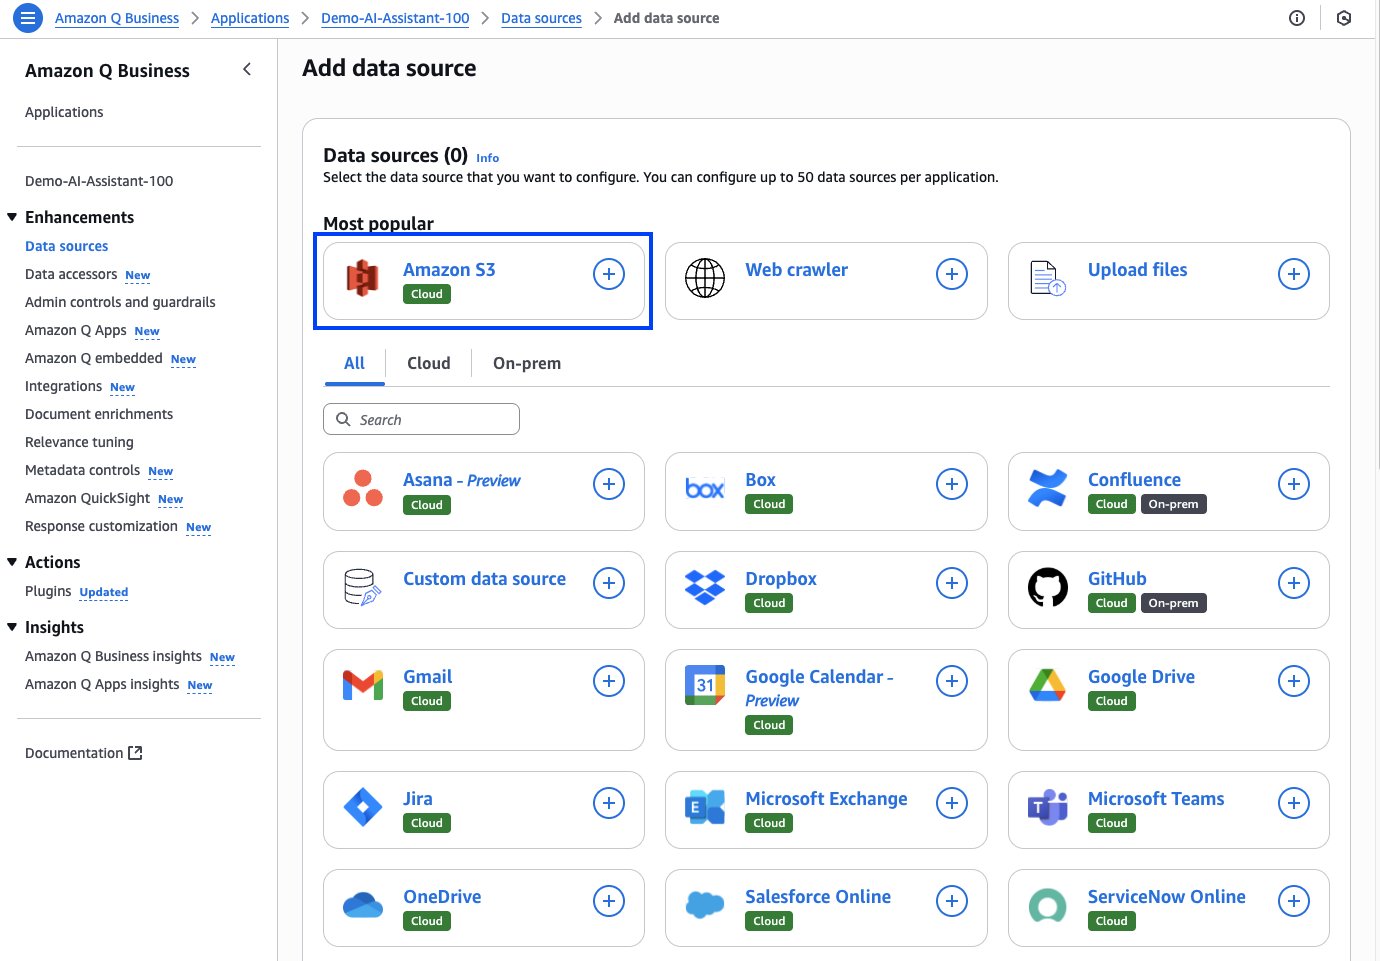
- On the Add data source page, choose Amazon S3 as your data source.
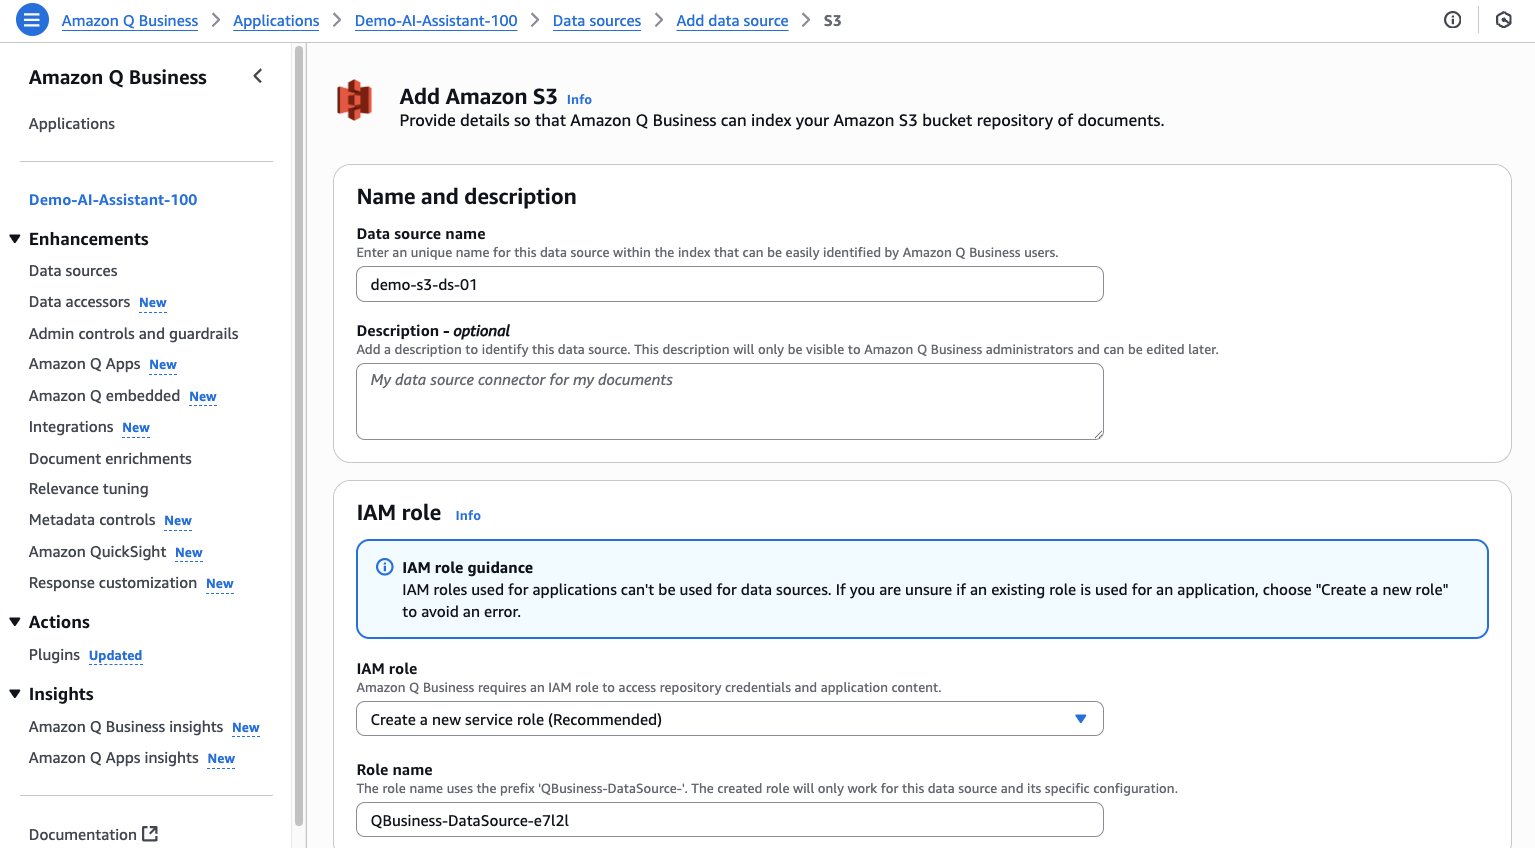
- For Data source name, enter a name. For IAM role, choose Create a new service role. For Role name, keep the automatically generated name.
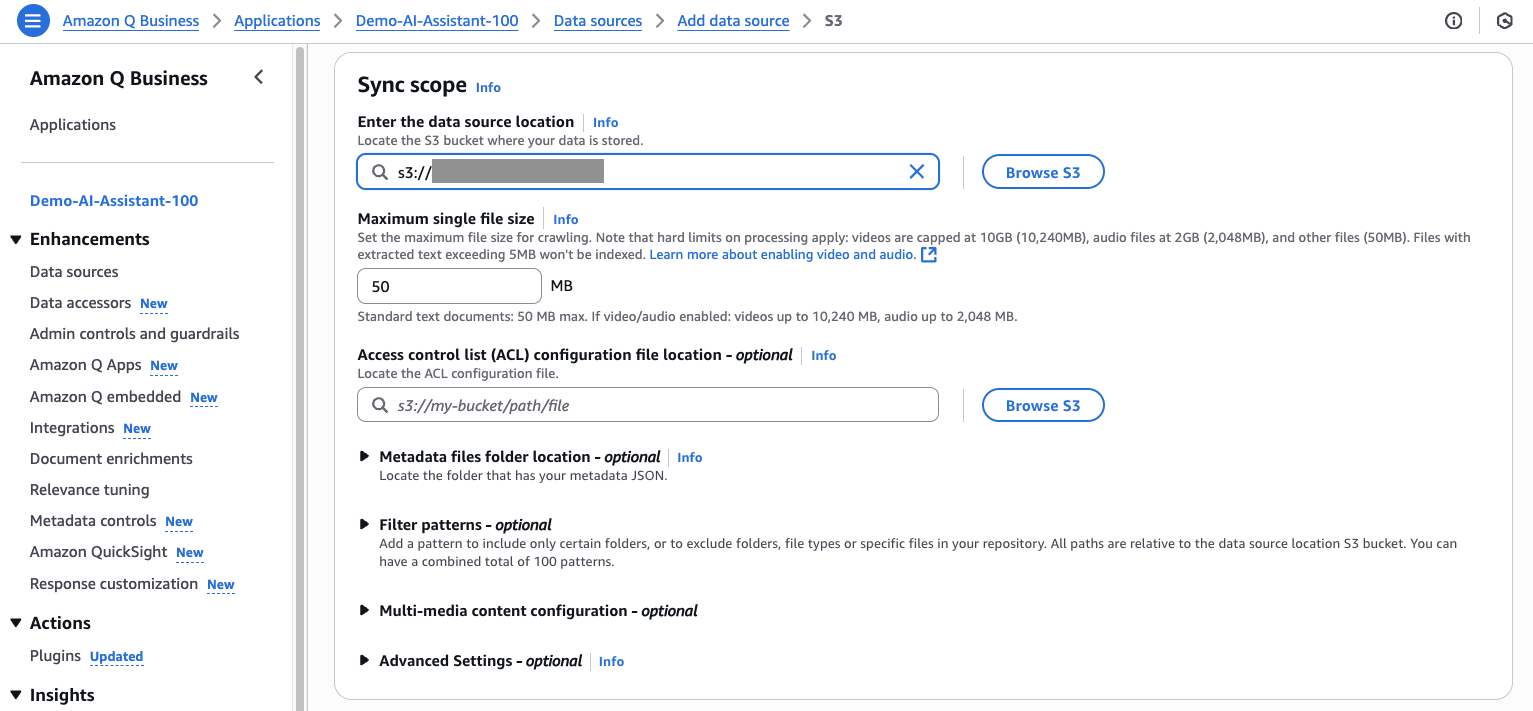
- Under Sync scope, enter the location of the S3 bucket you created earlier.
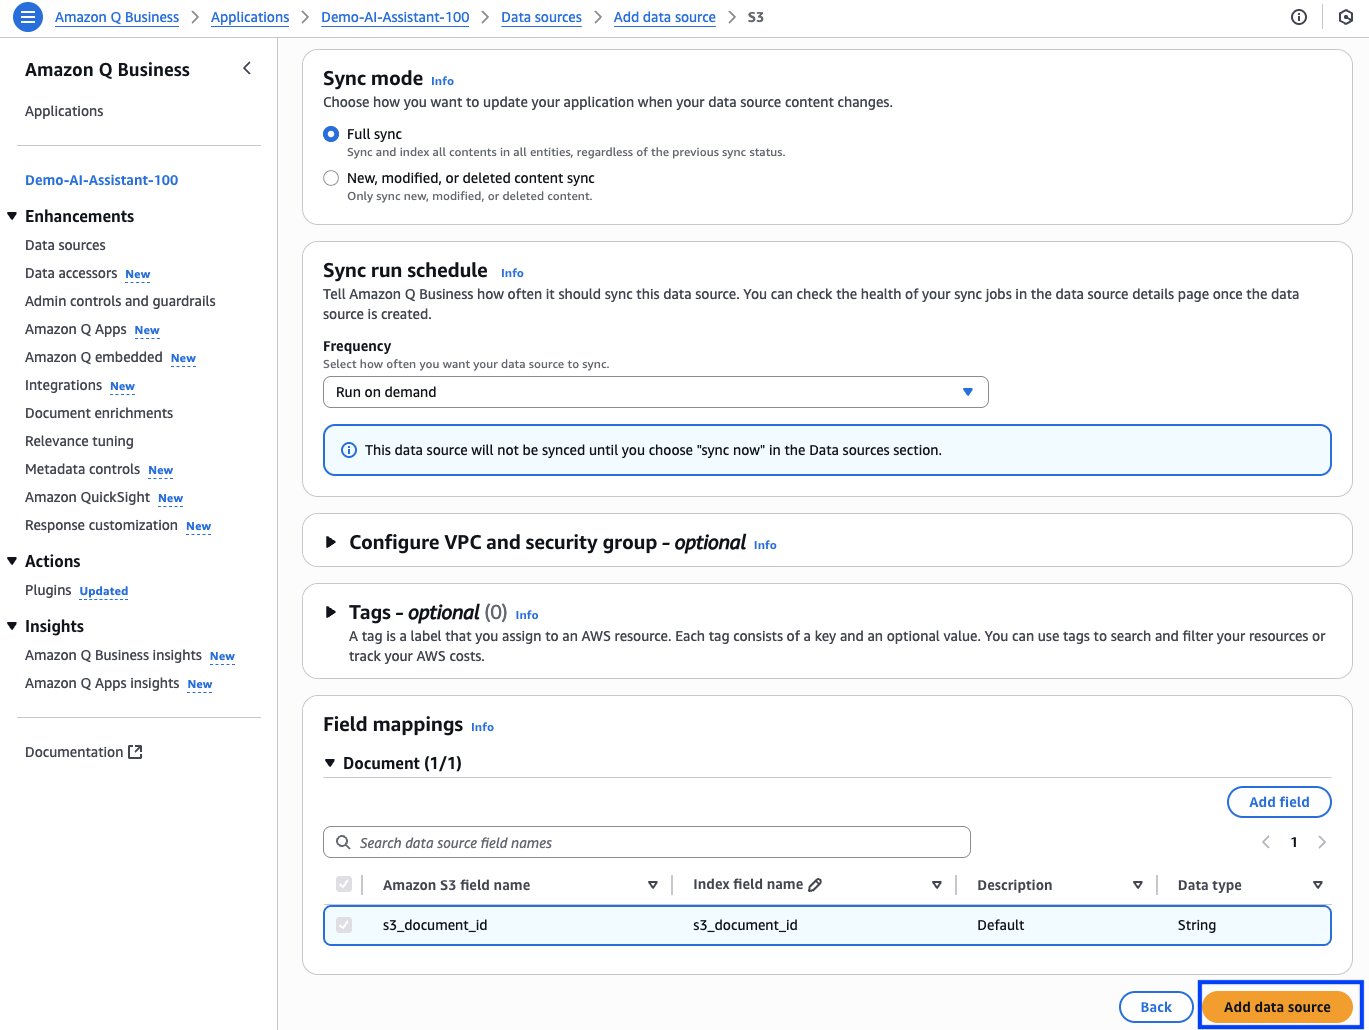
- For Sync mode, select Full sync. For Frequency, choose Run on demand. Choose Add data source.
- After the data source is created, choose Sync now to start the data source sync.
It takes a few minutes for the data source sync to complete.
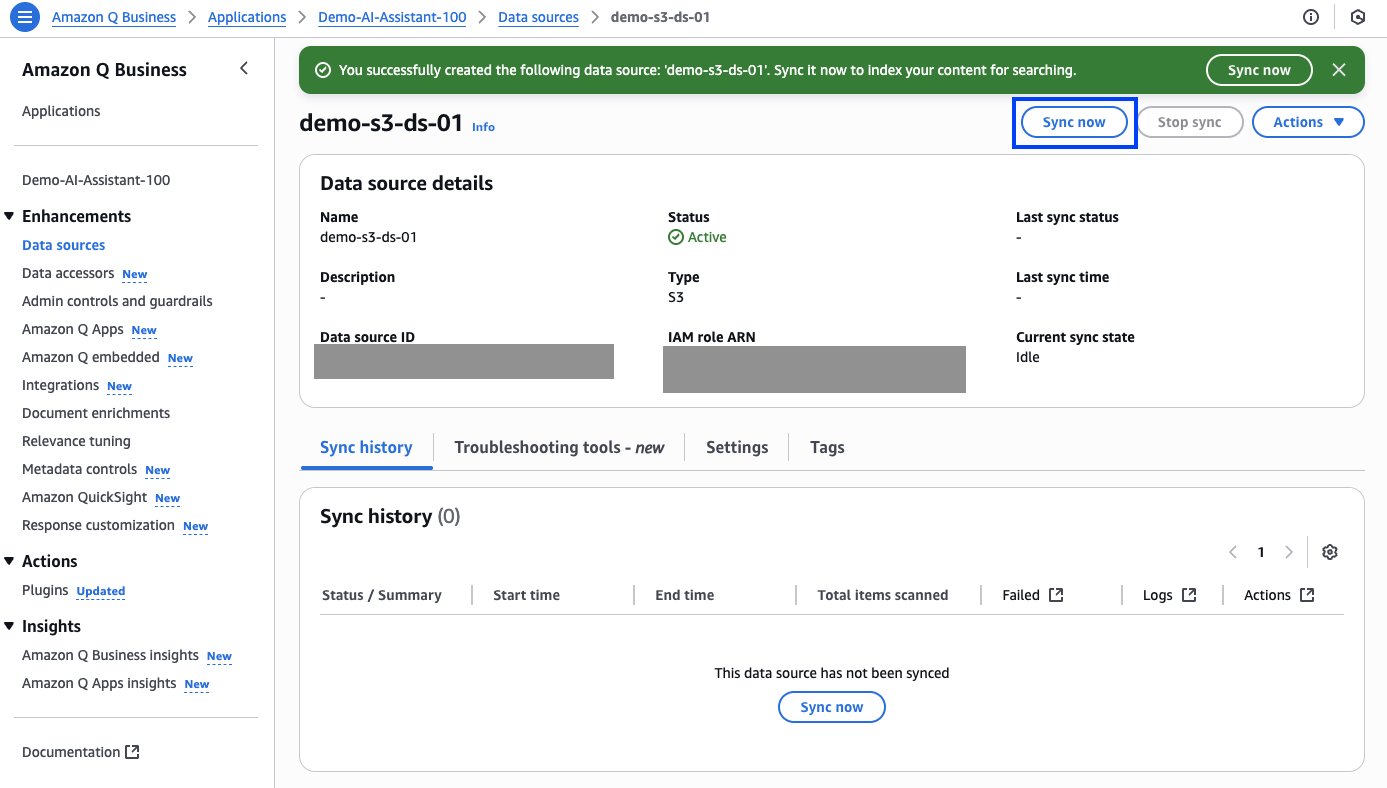
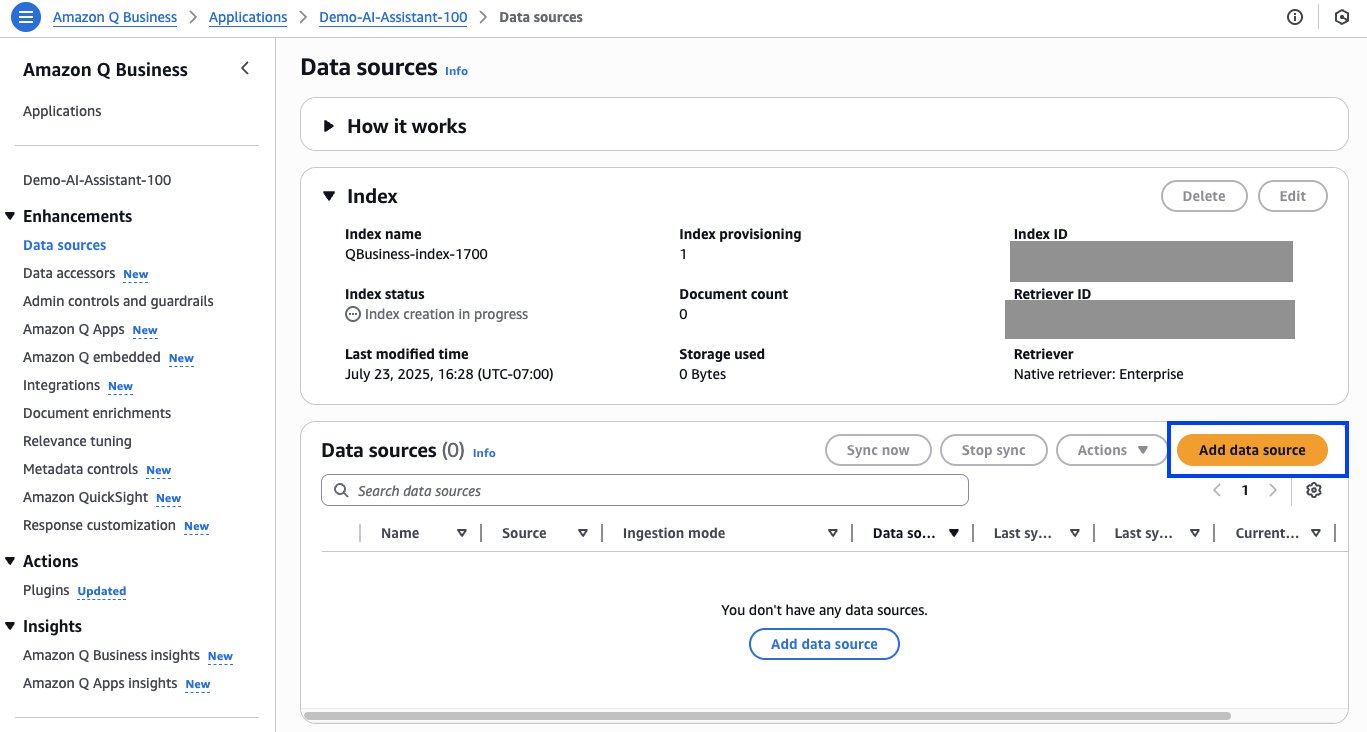
The Data sources page shows the status of the data sources, as shown in the following screenshot.

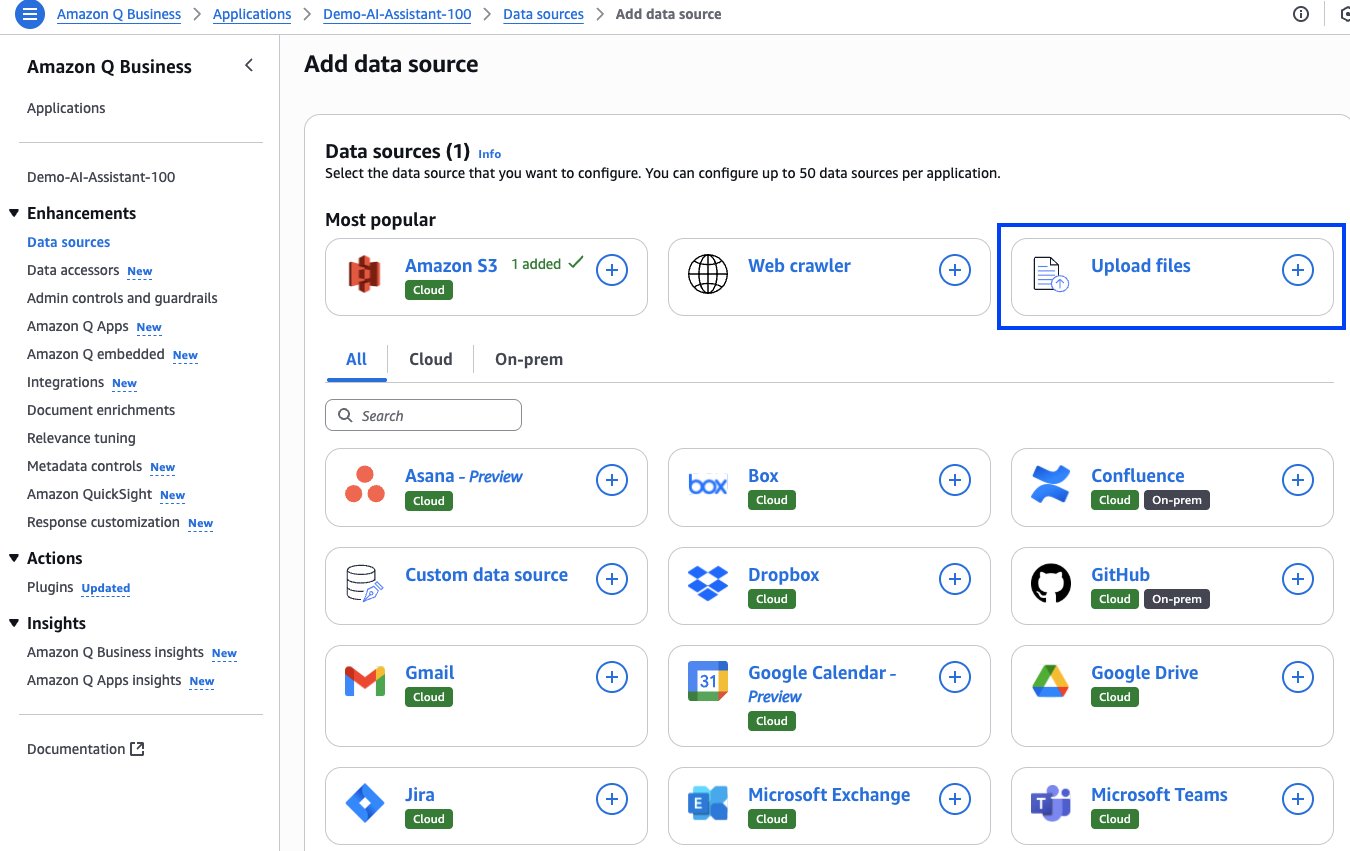
Now let’s create a data source with uploaded files.
- On the Data sources page, choose Add data source. Choose Upload files.
- Under Select files, choose Choose files. Open the location where you unzipped the sample data and choose the file
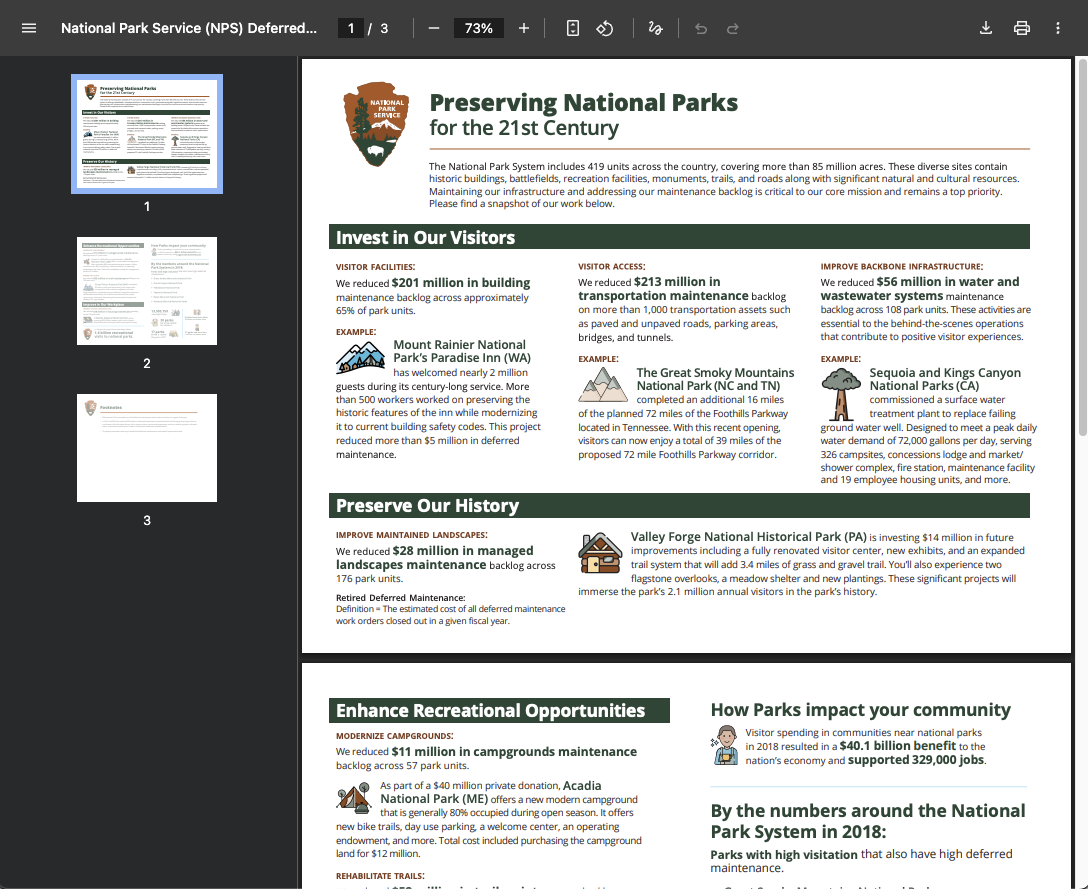
national_park_services_infograph.pdf. 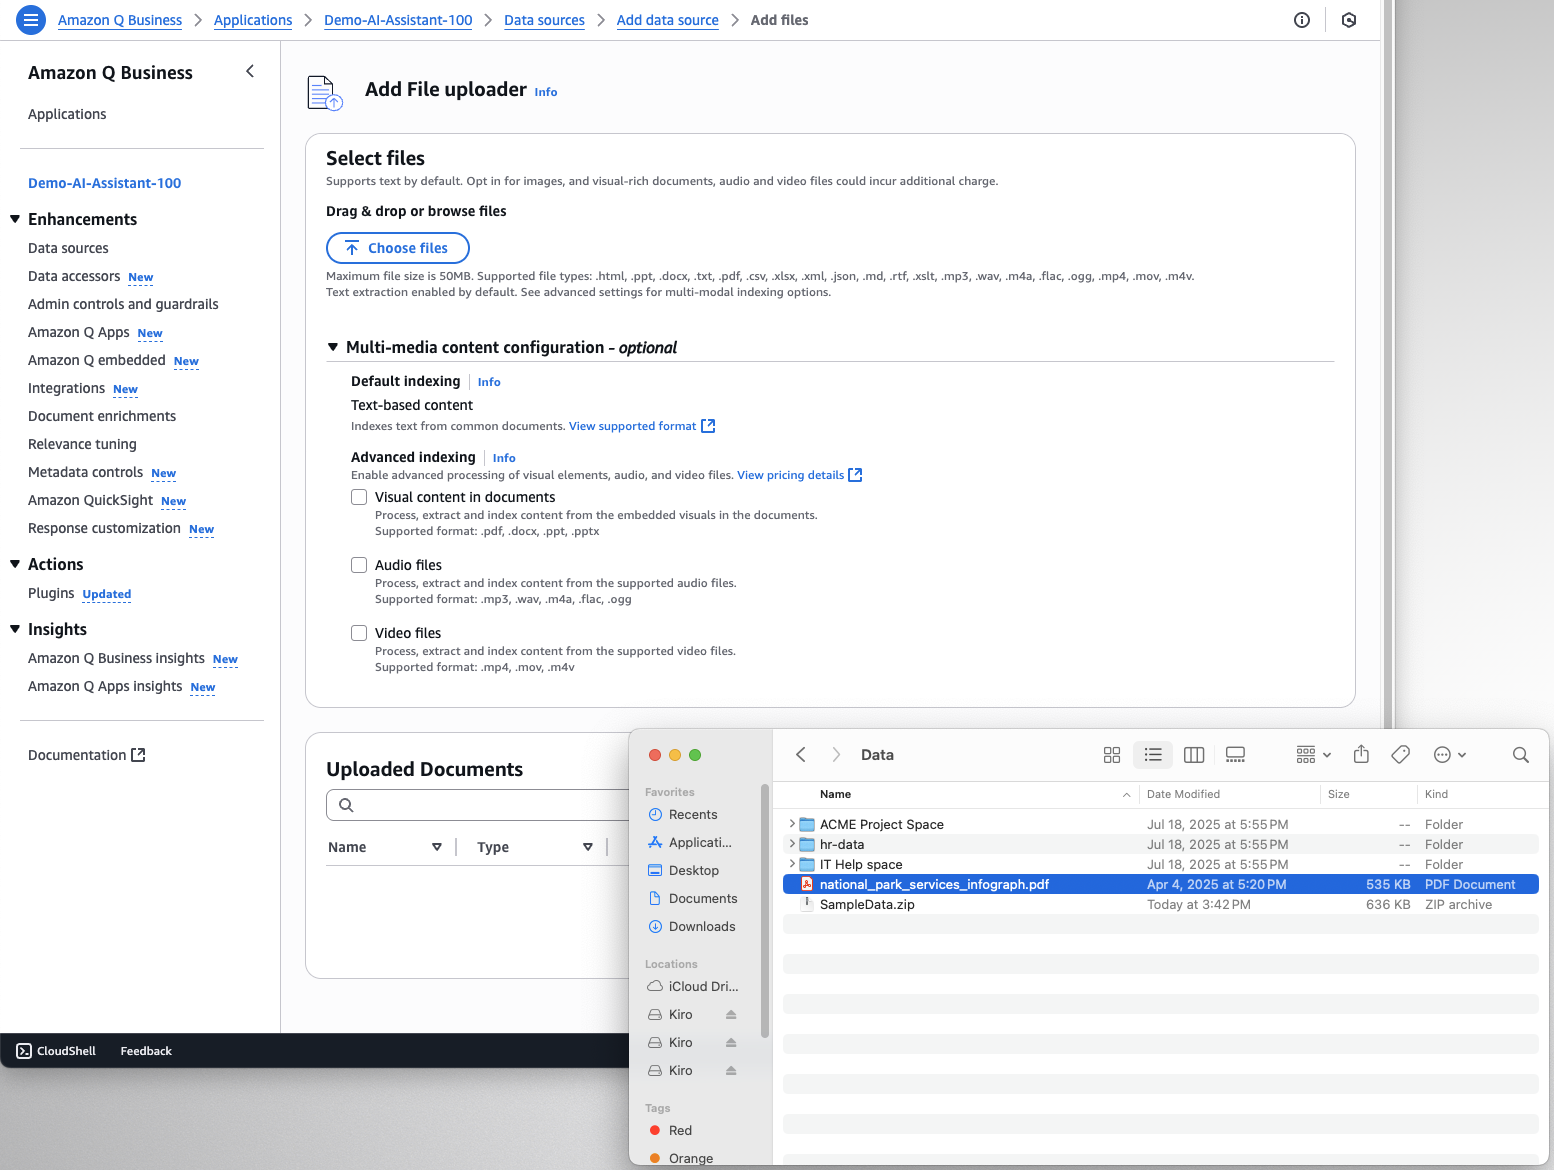
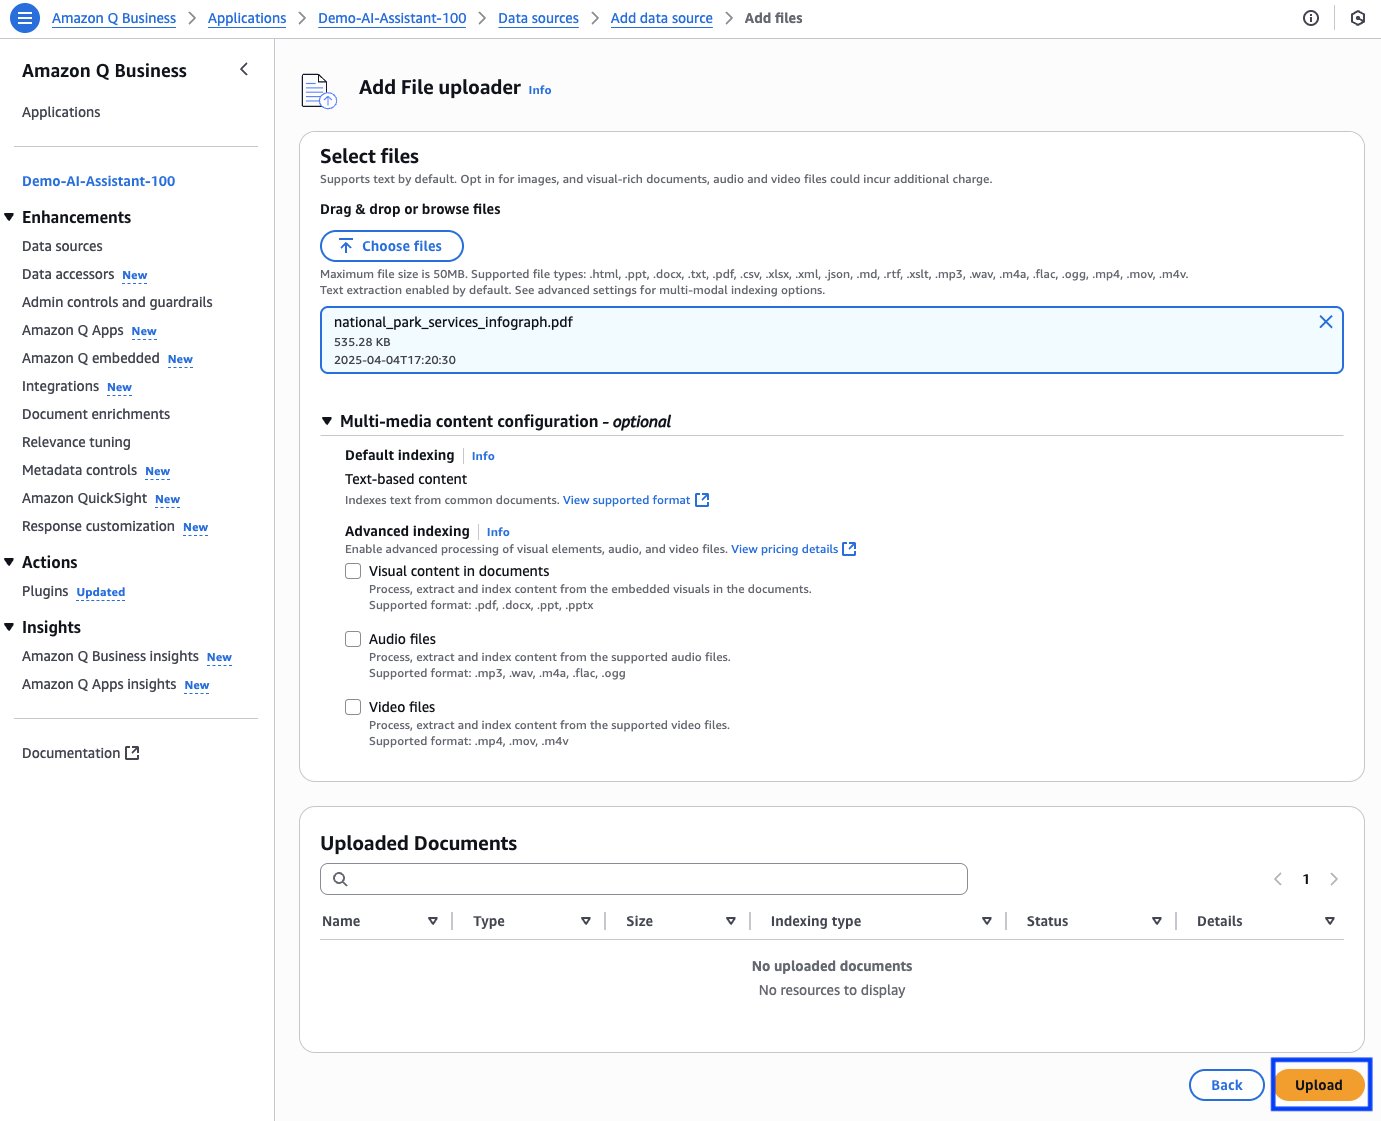
- Choose Upload to upload the file to the index.
Interact with your AI assistant
Now it’s time to test the AI assistant. In the following sections, we demonstrate how to use the Amazon Q Business web experience and the API to interact with your AI assistant.
Using Amazon Q Business web experience
Open the deployed URL of your Amazon Q Business application in a web browser window to start the web experience for your AI assistant and sign in as one of the subscribed users.

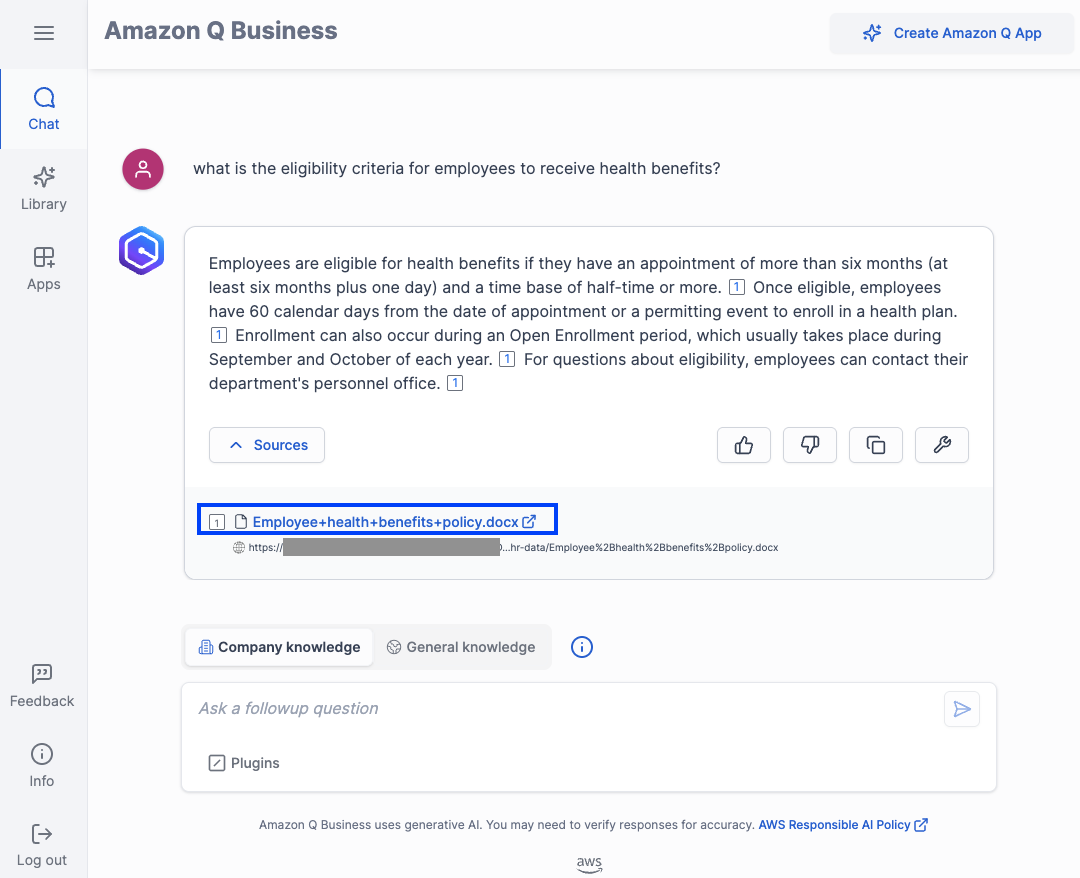
After the web experience starts, enter a prompt based on the data you indexed. If you are using the sample data provided with the post, you can use the prompt “What is the eligibility criteria for employees to receive health benefits?” as shown in the following screenshot. When you view the reference sources below the response, you will notice a download icon next to the file name, which you can use to download the file to view.
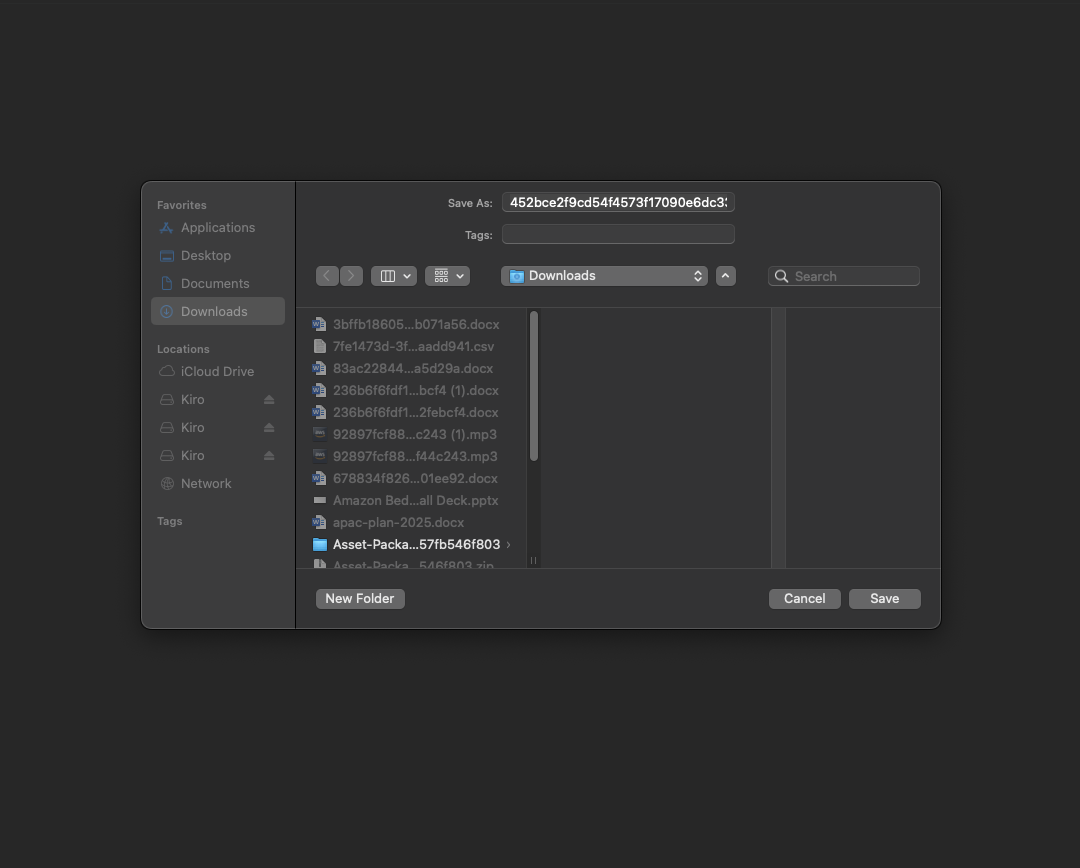
Choose the file name and choose Save to save the file to your computer.
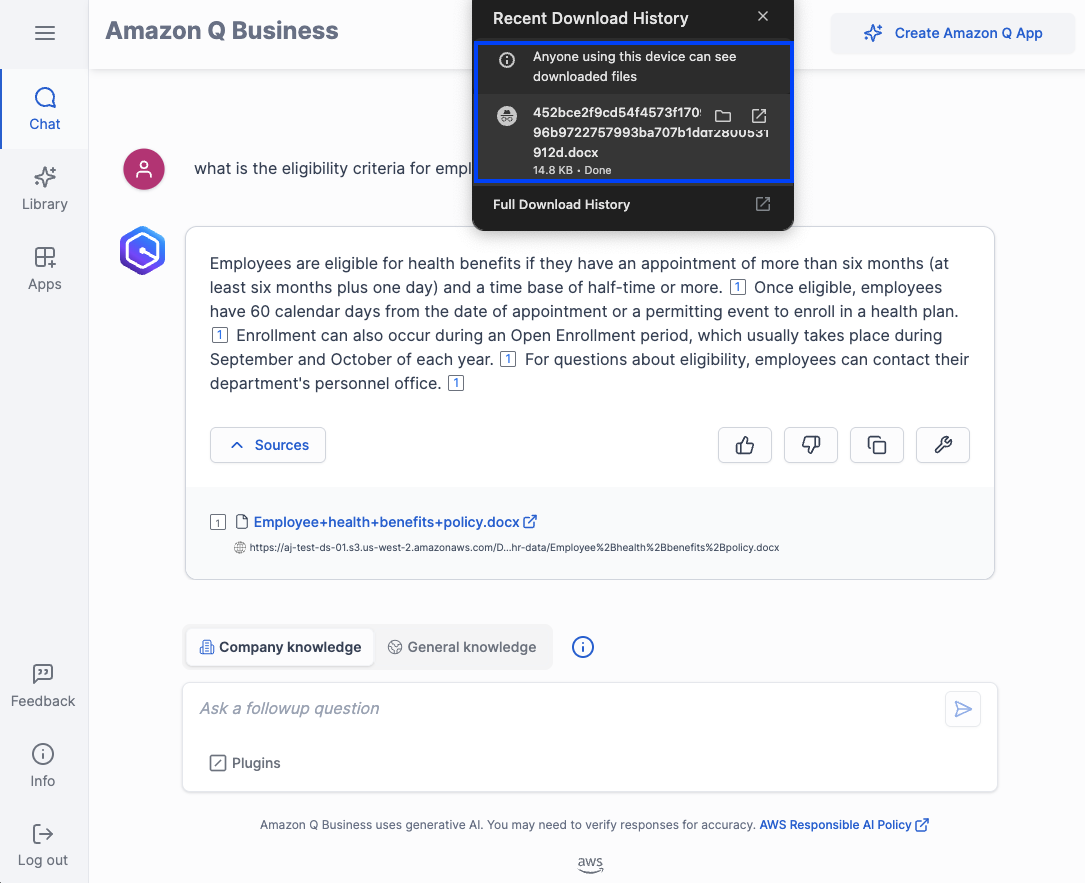
Keep in mind that although Amazon Q Business checks the ACLs to confirm that you are authorized to access the document before downloading, anyone who has access to the computer where you download the file will be able to access the document.
Choose the download status icon in your browser and choose the open icon to open the file.
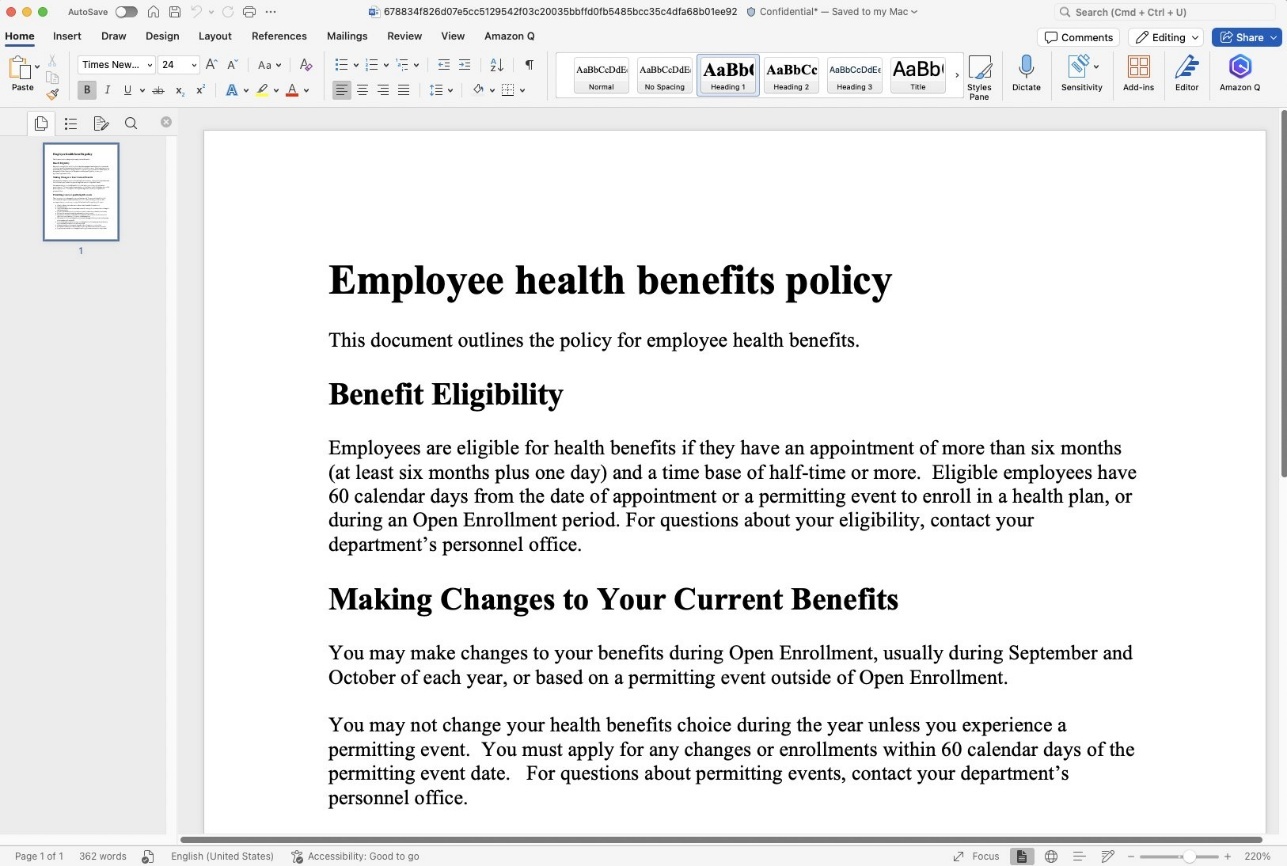
The document will open for your reference, as shown in the following screenshot.
Now let’s look at the example of a PDF document, which in this case is the data source containing the files you uploaded, in response to the prompt “How many parks are governed by the National Parks Service?” Because most web browsers can open the PDF file on a new tab, notice the file open icon next to the source file name—this is different from the file download icon in the previous case of a .docx file. When you choose the file name, the document opens in a new tab.
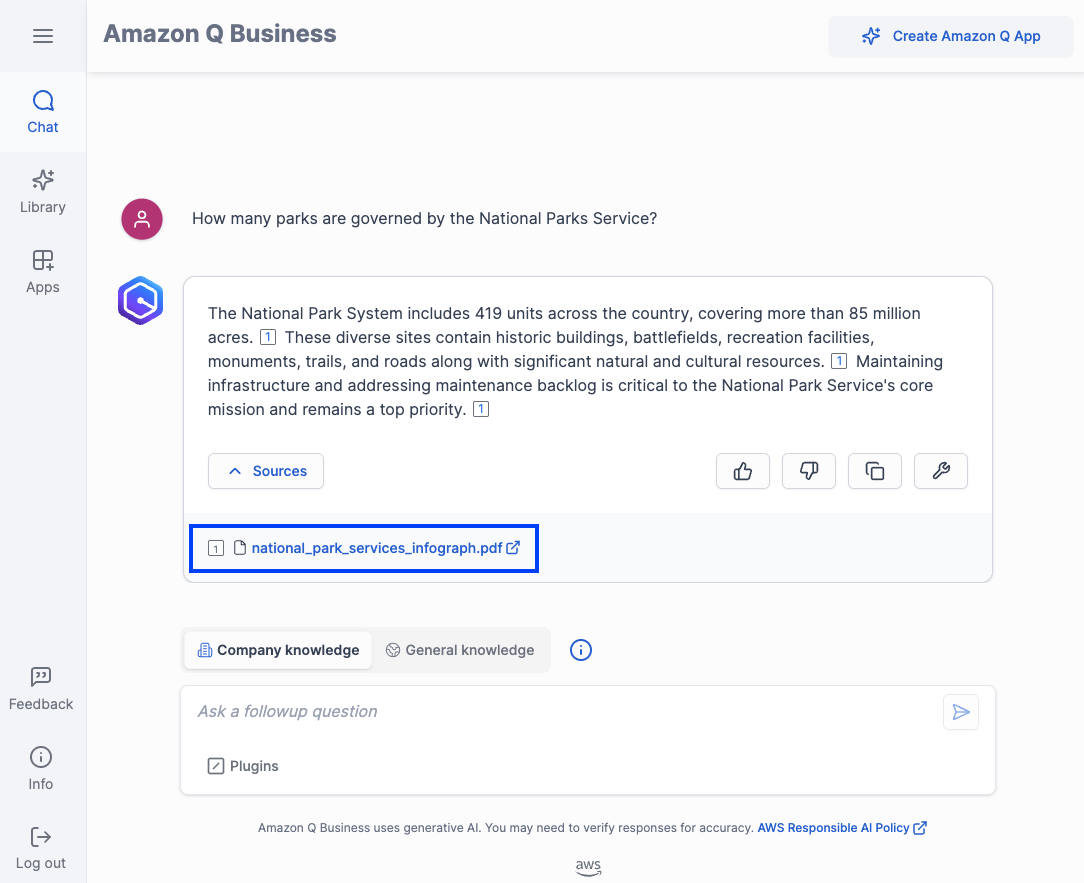
The following screenshot shows the PDF in the new browser tab.
Using the Amazon Q Business API
In this section, we show how to use the AWS CLI to experience how clickable URLs work when using API. To verify that an end-user is authenticated and receives fine-grained authorization to their user ID and group-based resources, a subset of the Amazon Q Business APIs (Chat, ChatSync, ListConversations, ListMessages, DeleteConversation, PutFeedback, GetDocumentContent) require identity-aware AWS Sig V4 credentials for the authenticated user on whose behalf the API call is being made. You must use the appropriate procedure to get identity-aware credentials based on whether your Amazon Q Business application user access management is configured with IAM Identity Center or IAM federation. You can apply these credentials by setting environment variables on your command line where the AWS CLI is installed; for convenience, you can choose AWS CloudShell.
First, use the ChatSync API to make a query to your Amazon Q Business application:
This command will get a response similar to the following:
Next, use the GetDocumentContent API using the information from the source attributions in the ChatSync API response to download and display the document to the user:
When Amazon Q Business receives the GetDocumentContent API call, the ACLs, when present, are verified to confirm that the user making the API call is authorized to access the document, and then a short interval pre-signed URL is returned in response to a successful invocation of the GetDocumentContent API that you can use to download or view the document:
Troubleshooting
This section discusses a few errors you might encounter as you use Amazon S3 clickable URLs for the source references in your conversations with your Amazon Q Business powered AI assistant.
Refer to Troubleshooting your Amazon S3 connector for information about error codes you might see for the Amazon S3 connector and suggested troubleshooting actions. If you encounter an HTTP status code 403 (Forbidden) error when you open your Amazon Q Business application, it means that the user is unable to access the application. To find the common causes and how to address them, refer to Troubleshooting Amazon Q Business and identity provider integration.
- Full sync required – While attempting to access referenced URLs from an Amazon S3 or uploaded files data source, the user gets the following error message: “Error: This document cannot be downloaded because the raw document download feature requires a full connector sync performed after 07/02/2025. Your admin has not yet completed this full sync. Please contact your admin to request a complete sync of the data source.” This error can be resolved after performing a full sync of the Amazon S3 data source, or deleting the files from the uploaded files data source and uploading them again. You can no longer access a document referred in the conversation history – While browsing through conversation history, the user chooses a reference URL from an Amazon S3 data source and can’t view or download the file with the following error: “Error: You no longer have permission to access this document. The access permissions for this document have been changed since you last accessed it. Please contact your admin if you believe you should have access to this content.” This error implies that the permissions for the document in the ACLs on the S3 bucket configured as the data source changed, so the user no longer authorized to access the file, and the ACLs got updated in the Amazon Q Business index in a data source sync. If the user believes that they should have access to the document, they must contact the administrator to address the ACLs and perform a data source sync. The document you are trying to access no longer exists – While browsing through conversation history, the user chooses a reference URL from an Amazon S3 or uploaded files data source, and can’t view or download the file with the following error: “Error: The document you’re trying to access no longer exists in the data source. It may have been deleted or moved since it was last referenced. Please check with the admin if you need access to this document.” This error implies that the document is deleted from the S3 bucket or moved to a different location, and therefore also got deleted from the Amazon Q Business index and staging bucket for the specific document ID during a data source sync. This error will also manifest when a document from the uploaded files data source is deleted by the administrator subsequent to the conversation. If the user believes that the document should not be deleted, they should contact the administrator to attempt to restore the document and perform a data source sync. You can’t download this document because your web experience lacks the required permissions – When the user chooses a reference URL from an Amazon S3 or uploaded files data source, they can’t view or download the file with the following error: “Error: Unable to download this document because your Web Experience lacks the required permissions. Your admin needs to update the IAM role for the Web Experience to include permissions for the GetDocumentContent API. Please contact your admin to request this IAM role update.” The administrator can attempt to resolve this error by updating the IAM role for the web experience with permissions to invoke the
GetDocumentContent API, as discussed in the considerations section earlier in this post. Clean up
To avoid incurring future charges and to clean out unused roles and policies, delete the resources you created: the Amazon Q application, data sources, and corresponding IAM roles. Complete the following steps:
- To delete the Amazon Q application, go to the Amazon Q console and, on the Applications page, select your application. On the Actions drop-down menu, choose Delete. To confirm deletion, enter
delete in the field and choose Delete. Wait until you get the confirmation message; the process can take up to 15 minutes. To delete the S3 bucket you created during this exercise, empty the bucket and then delete the bucket. Delete your IAM Identity Center instance. Conclusion
In this post, we showed how to build an AI assistant with Amazon Q Business based on your enterprise documents stored in an S3 bucket or by directly uploading the documents to the data source. Amazon S3 clickable URLs provide a user-friendly mechanism for authenticated users to securely view or download the documents referenced in responses to users’ queries, validate accuracy, and practice responsible AI—a critical success factor for an enterprise AI assistant solution.
For more information about the Amazon Q Business S3 connector, see Discover insights from Amazon S3 with Amazon Q S3 connector.
About the authors
 Abhinav Jawadekar is a Principal Solutions Architect in the Amazon Q Business service team at AWS. Abhinav works with AWS customers and partners to help them build generative AI solutions on AWS.
