Looking to learn more about GitHub Copilot?
Try GitHub Copilot for free or read more about Copilot.
Welcome to season two of GitHub for Beginners! Last season, we introduced you to GitHub and helped you go from beginner to confidently using the platform. This season, we’re continuing your journey by leading you into the world of AI with GitHub Copilot.
Imagine having a pair programmer who never takes a break and knows plenty of programming languages. That’s Copilot, which is powered by a number of large language models (LLMs) that you can choose from and is the industry’s most widely adopted AI coding tool. Today, we’ll be exploring everything you need to know to get started using it.
In this post, we will:
- Get you up and running with GitHub Copilot Give you an overview of the different usage tiers from free to enterprise Help you use GitHub Copilot for the very first time!
Let’s get started!
What is GitHub Copilot?
Powered by generative AI and LLM models, GitHub Copilot is an AI pair programmer that helps you write code faster. It’s designed to help with programming tasks and acts as your assistant while working in your editor and on github.com.
In addition to code completion, GitHub Copilot can help you:
- Write code using natural language prompts Understand shell commands Describe changes in your pull requests Debug and refactor code … and much, much more!
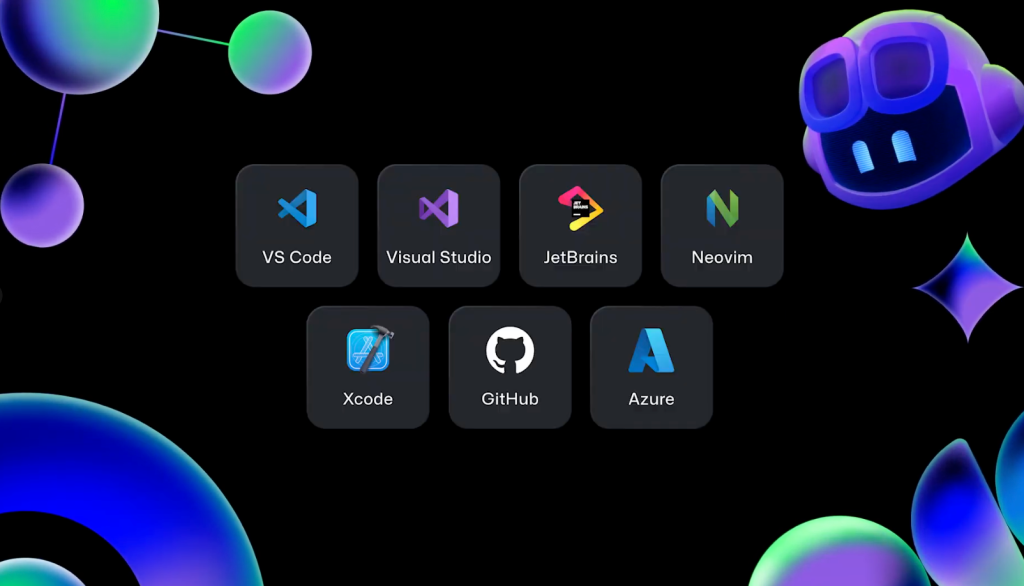
You can use GitHub Copilot with a variety of programming languages, and it’s available in VS Code, Visual Studio, JetBrains IDEs, Neovim, XCode, on GitHub Mobile, in your terminals, and on github.com!

This leads us to our next question: how do you access GitHub Copilot?
What are the different tiers of GitHub Copilot?
Before using GitHub Copilot, you need to have a GitHub account and—if you want more than the free version—a Copilot license.
There are four options available:
- For individuals:
- GitHub Copilot Free Copilot Pro
- Copilot Business Copilot Enterprise
- GitHub Copilot Pro (which is also free in our open source program)

If you’ve never used GitHub Copilot before, sign up for the free tier to give it a try! Once you do that, you can install and use GitHub Copilot in your IDE and on github.com.
How to install GitHub Copilot in VS Code and JetBrains
How you install GitHub Copilot depends on what IDE you’re using. GitHub Copilot currently works with several IDEs on the market—but for the purpose of this article, we’ll focus on two popular IDEs: VS Code and JetBrains.
If you’re using VS Code:
- Navigate to the Extensions Marketplace and search for “GitHub Copilot.” Click on the “GitHub Copilot” extension, authored by GitHub and then click Install. This will install two extensions: GitHub Copilot and GitHub Copilot Chat. Once installed, sign into VS Code with your GitHub account that has access to GitHub Copilot. (If you didn’t previously authorize VS Code in your GitHub account, you’ll need to sign in to GitHub in VS Code.) And you’re all set!

A few helpful notes in case you run into any issues:
- You can sign in to GitHub in VS Code by selecting the “Accounts” menu in the Activity Bar, and then “Sign in to Sync Settings” to use GitHub Copilot. In your browser, you can grant GitHub the necessary permissions needed for GitHub Copilot. Click “Continue” to authorize VS Code to approve.
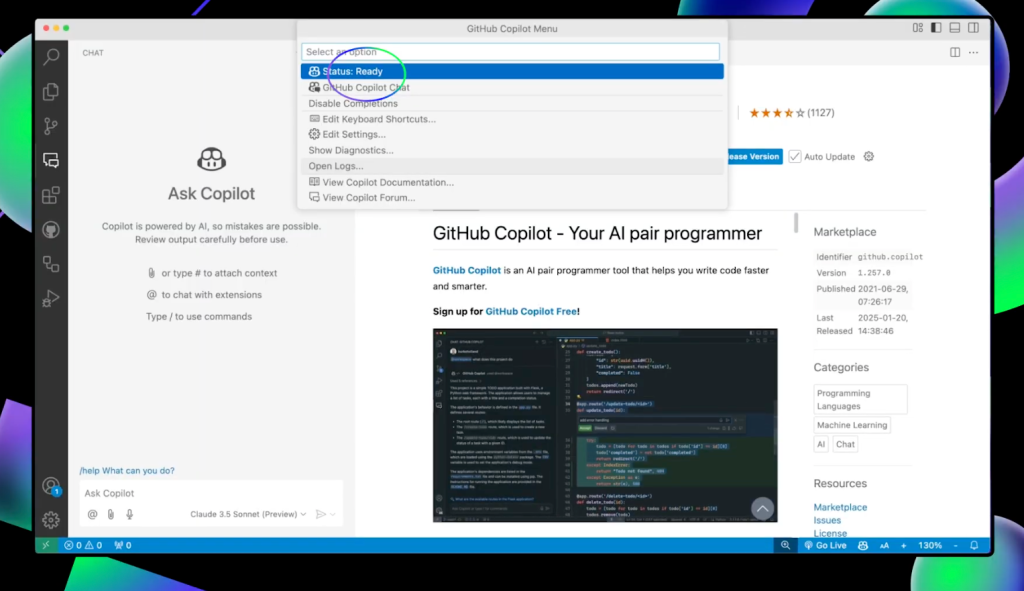
When you return to your editor, you’ll notice a Copilot icon at the top next to the Command Center, and a Copilot icon in the bar at the bottom of the editor window. If you click the icon at the bottom, it might ask you to select the account you want to use, then show menu options and display a ready status.

If you see Copilot icons next to the Command Center and at the bottom of the VS Code window, you’ve successfully installed GitHub Copilot and are ready to use it.
If you’re using a JetBrains IDE:
We’ll be using PyCharm to install GitHub Copilot in JetBrains IDE. Here’s how:
- Open your editor of choice and navigate to the plugins marketplace. Search for “GitHub Copilot” and click Install, then restart your IDE. When you open a project, you’ll see a Copilot icon on both the right side of your editor and the bottom, with a “ready” status. Once you see two icons on the left: GitHub Copilot with a question mark and another with a chat icon, you’ll know you successfully installed GitHub Copilot.
- Select the first icon, GitHub Copilot with a question mark, to get an overview of what GitHub Copilot is, along with a welcome message. Select the second icon, GitHub Copilot with a chat icon, to find help for programming-related inquiries.

A few notes that may be helpful:
- If you didn’t previously authorize JetBrains in your GitHub account, you’ll need to sign in to GitHub in your editor. Alternatively, you can click on the Copilot icon at the bottom and select “Login to GitHub.” In your browser, you can grant GitHub the necessary permissions needed for GitHub Copilot. Click “copy and open” to approve the permissions needed. Press CMD+VM or CTRL+V to paste the code, click continue and finally select “Authorize GitHub Copilot plugin.”
Return to your editor and you will see a message that GitHub Copilot has been successfully installed.
Now, it’s time to authorize GitHub Copilot Chat.
- Click on the chat icon and click the “Authorize” button. Select “Copy and Open” and paste the code in your browser. Click “Authorize GitHub Copilot for JetBrains IDEs.” Return to your editor and you should see a greeting from GitHub Copilot Chat.
Once you’ve completed these steps, you’re ready to use GitHub Copilot in JetBrains.
How to use code completions in GitHub Copilot
We now have Copilot installed in our editors, so let’s explore how to use features like code complete. In our example, we’ll be using Python in VS Code.
Here’s a short walkthrough on using code complete in GitHub Copilot:
- Create a new file called
validate_email.py. Type import re and press Enter. Copilot will suggest code based on what it believes you want to do. For example, since the file is named validate_email.py Copilot will provide code for validating an email. Click the tab key and accept the suggestion. Hit the Return key to have Copilot provide the main function to run the code. Hover over the suggested code, then click the arrows to see multiple suggestions. Click on the three dots (…) at the end of the suggestion and select “Open Completions Panel” to see even more suggestions.
One thing to keep in mind: because we’re using Copilot for inline code completion, the gray text represents ghost text with Copilot’s suggestions. If you try this later and get a different response, no worries! When working with GitHub Copilot or any LLM, responses are nondeterministic—which means a different result may be generated every time (so you may get a different result than what’s shown in the examples).
How to use Copilot Chat
GitHub Copilot Chat can provide more context into the code and what it means. Maybe you’re seeing the code for the first time and need to be brought up to speed quickly.
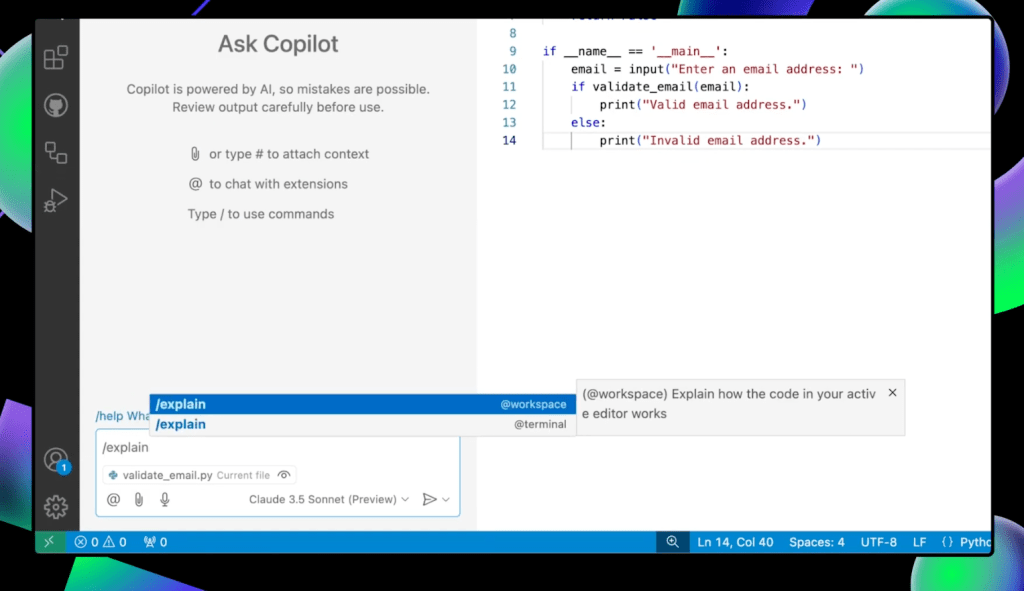
Open Copilot Chat, type /explain, and hit Enter. Copilot will give you a detailed explanation of what’s happening in the code. You’ll see that Copilot Chat has a view of the currently opened file as indicated by the eye icon next to the file name at the bottom of the chat window.

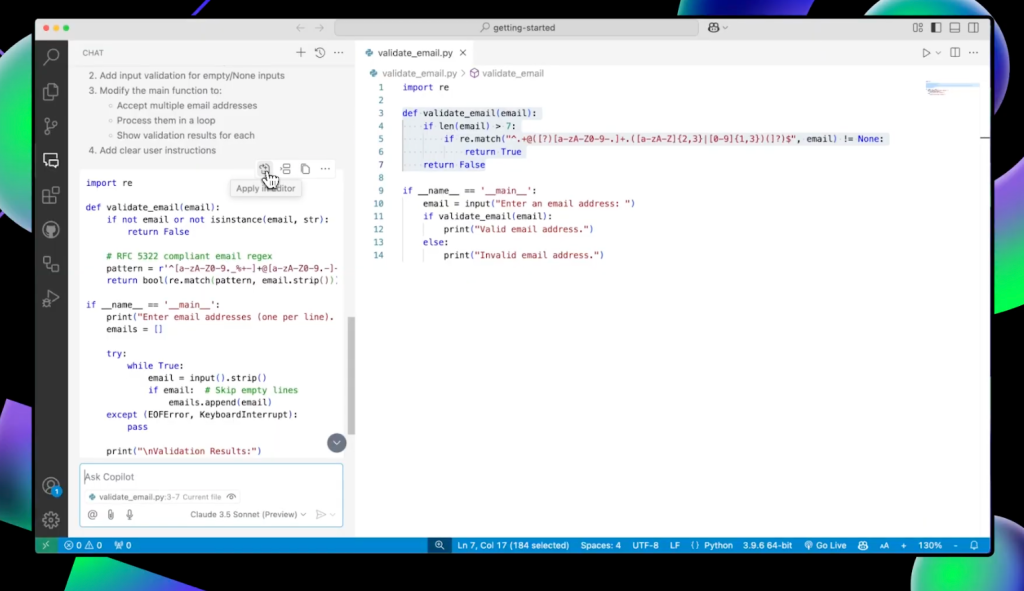
Let’s take a look at another example. Imagine you want to improve the regex and allow users to enter multiple email addresses.
Open Copilot Chat and type, “allows users to enter email multiple addresses for validation and also improve the regex to be more robust.” Once you send the request, Copilot will give you a plan, an updated code block, and a list of suggested changes. Hover over the code block, click the “Apply in Editor” button to accept the changes, and GitHub Copilot will make the updates for you.

What’s the difference between GitHub Copilot and other copilots?
Time to address the elephant in the room: what’s the difference between GitHub Copilot and all the other copilots out there?
Well, GitHub Copilot is specifically designed for programming. And because it works where you work—both in your editor and on github.com—there’s no need to go back and forth between your browser or another app and your code. You’re able to stay focused without having to context switch between your editor and your AI assistant. And remember, when you hear “GitHub Copilot,” it’s referring to your personal AI pair programmer.
Your next steps
Thanks for joining our deep dive into GitHub Copilot.
- If you want to watch this demo in action, we’ve created a YouTube tutorial that accompanies this blog. If you have any questions, pop them in the GitHub Community thread and we’ll be sure to respond. Remember to sign up for GitHub Copilot (if you haven’t already) to get started for free. Join us for the next part of the series where we’ll walk through essential features of GitHub Copilot.
Happy coding!
The post GitHub for Beginners: How to get started with GitHub Copilot appeared first on The GitHub Blog.

