


In today’s data-driven world, having access to powerful computing resources is essential for developers, data scientists, and students alike. Enter Google Colab – a game-changing platform that provides free access to cloud computing resources, including GPU support, without requiring any local setup. Whether you’re a beginner taking your first steps in Python programming or an experienced data scientist working on complex machine learning models, Google Colab offers an accessible, collaborative environment that’s transforming how we code.
What is Google Colab?
Google Colab, short for Colaboratory, is a cloud-based Jupyter notebook environment that runs entirely in your browser. It’s a free service provided by Google that allows you to write and execute Python code, create detailed documentation, and share your work with others seamlessly. Think of it as a Google Docs for programming – but with far more powerful features under the hood.
Why Use Google Colab?
Google Colab stands out from other development environments for several compelling reasons. First and foremost, it’s completely free to use, requiring only a Google account. But the benefits go far beyond cost savings:
The platform provides free access to high-performance GPUs and TPUs, making it ideal for machine learning and deep learning projects that would otherwise require expensive hardware. You can write and execute code directly in your browser, eliminating the need for complex local setups or worrying about system compatibility.
The integration with Google Drive means your work is automatically saved and easily accessible from any device. Plus, the collaborative features make it simple to share notebooks with colleagues or classmates, enabling real-time cooperation on projects.
Getting Started
Getting started with Google Colab is remarkably straightforward. Simply navigate to colab.research.google.com and sign in with your Google account. Once logged in, you’ll be greeted with a clean, intuitive interface that should feel familiar if you’ve ever used Google Docs.
1. Open Colab Notebook
Once open, you will see a popup which should look like this:
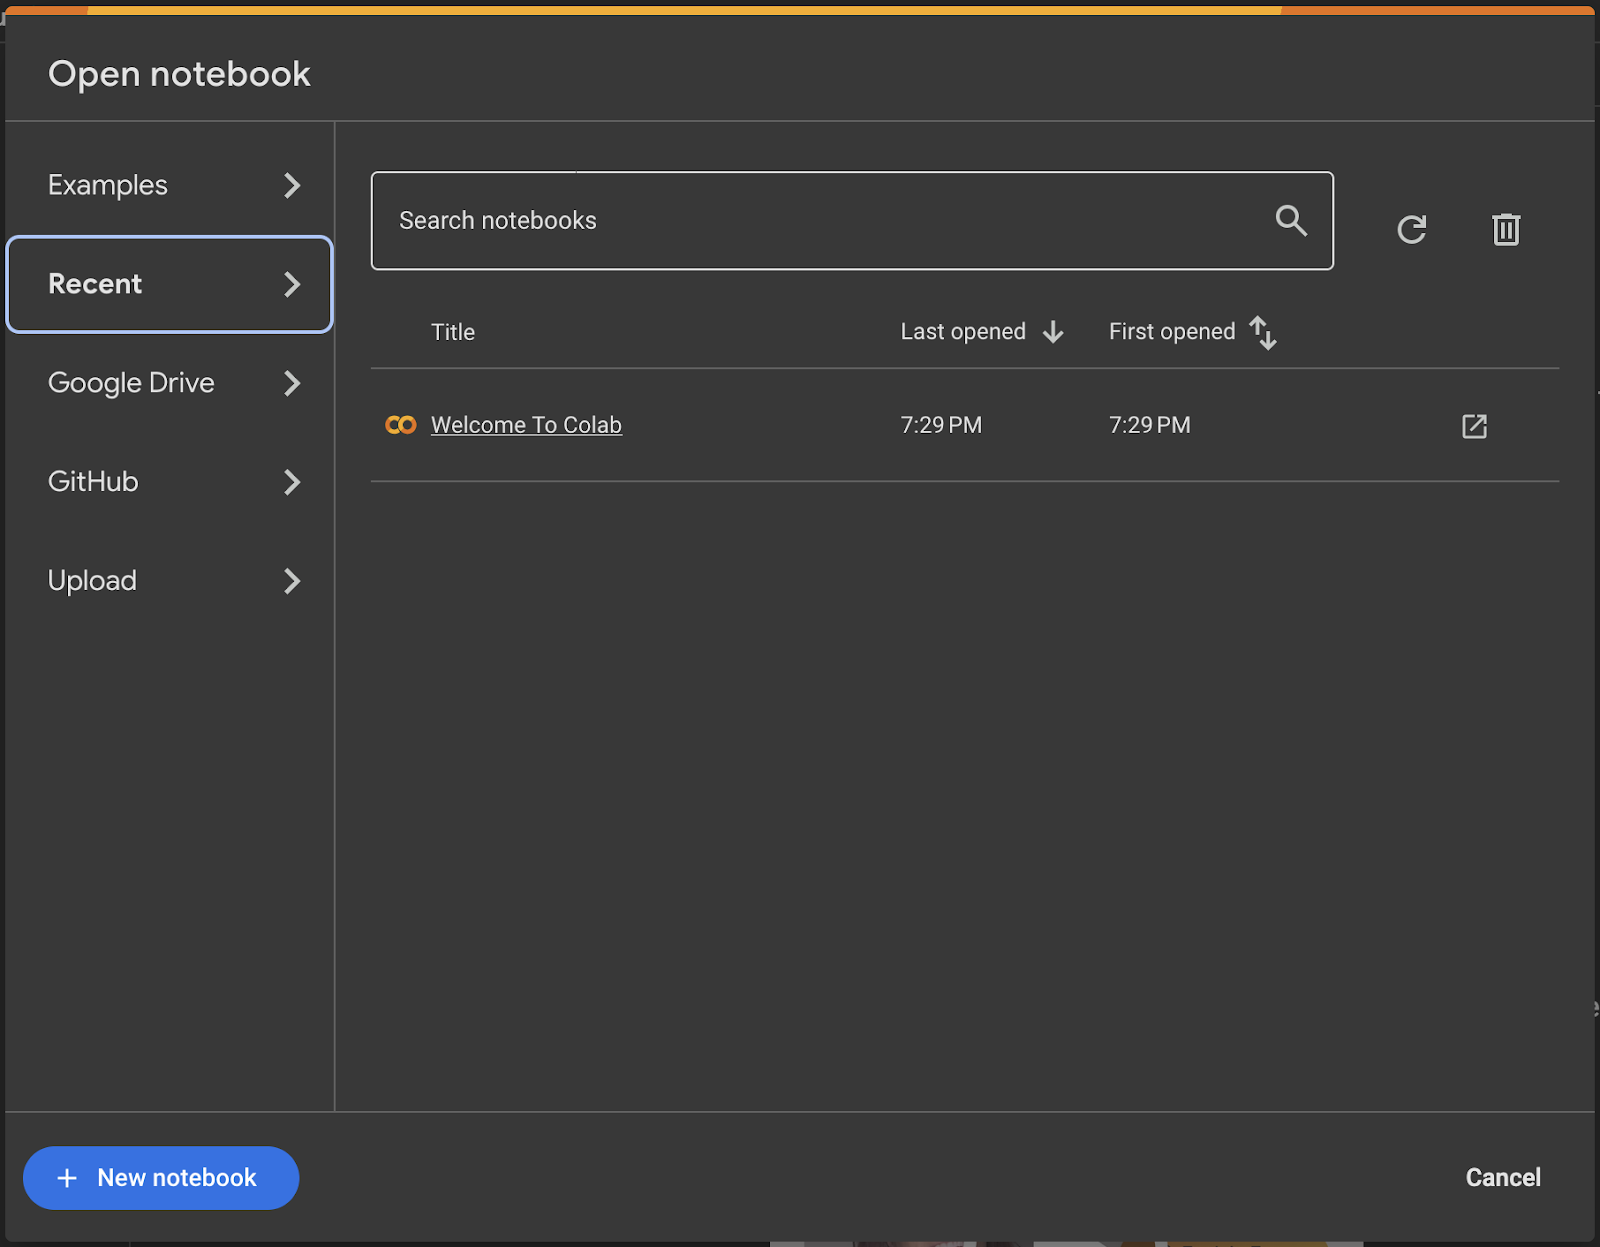
Here is what all the different sections mean:
- Examples: This section contains a number of Jupyter notebooks of various examples.Recent: This section contains the recently opened Jupyter notebooks.Google Drive: This section contains the Jupyter notebooks in your google drive.Github: Through this section, you can add a Jupyter notebook from your GitHub after connecting your Colab with GitHub.Upload: Upload a notebook from your local directory.
2. Create a new notebook
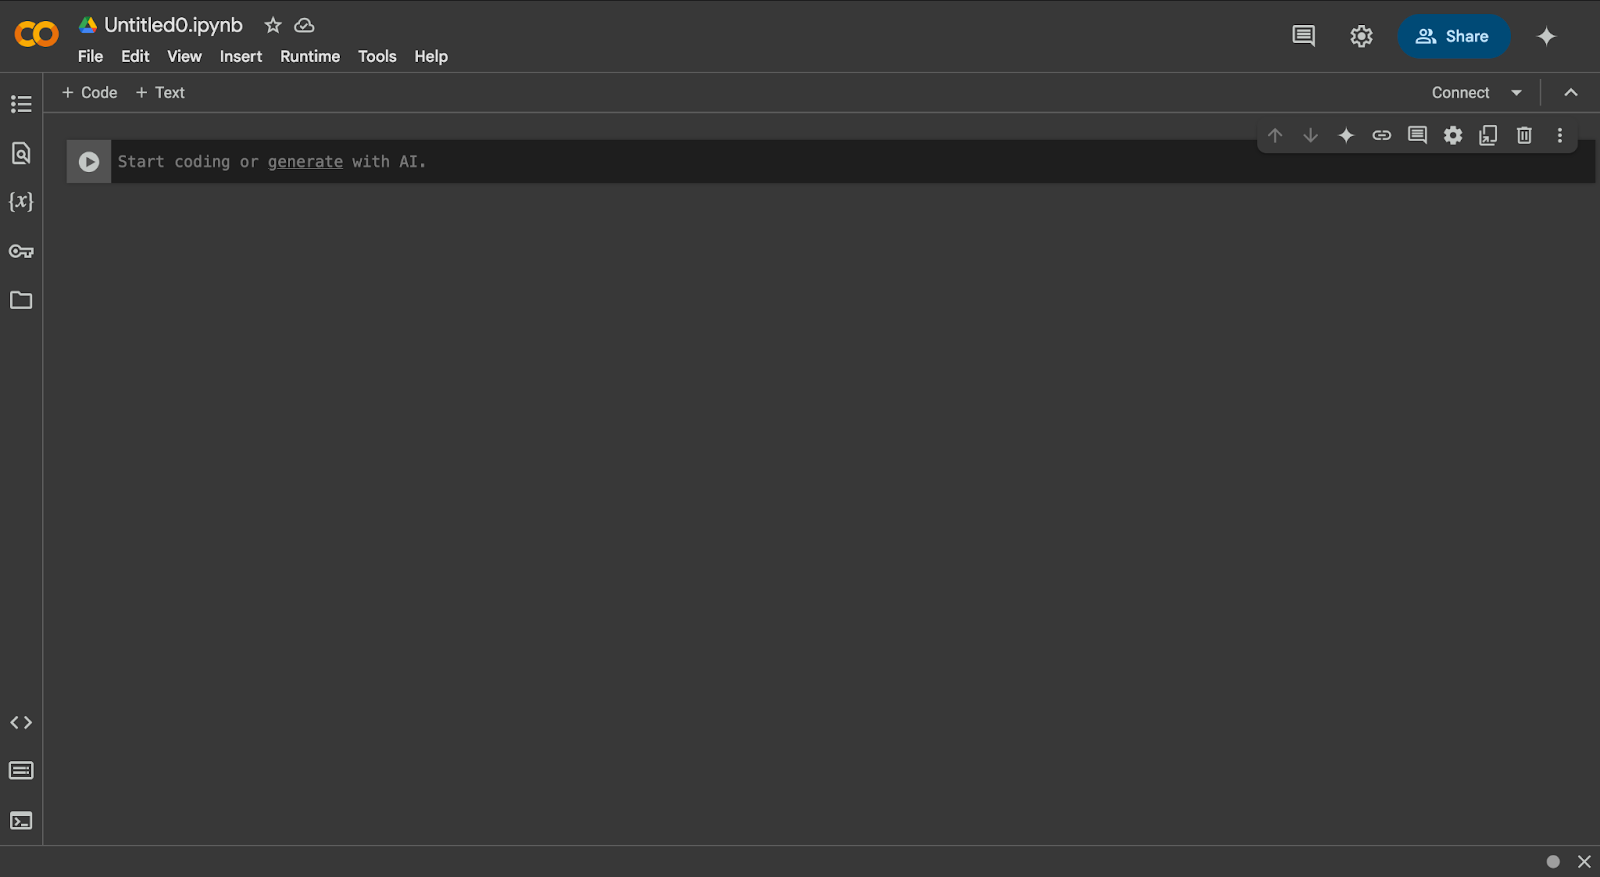
You can create a new notebook through the blue highlighted button that says “New notebook” at the left bottom of the image. Once created, a notebook named “Untitled0.ipynb” will open where you can start writing your code:
3. Changing Run-Time
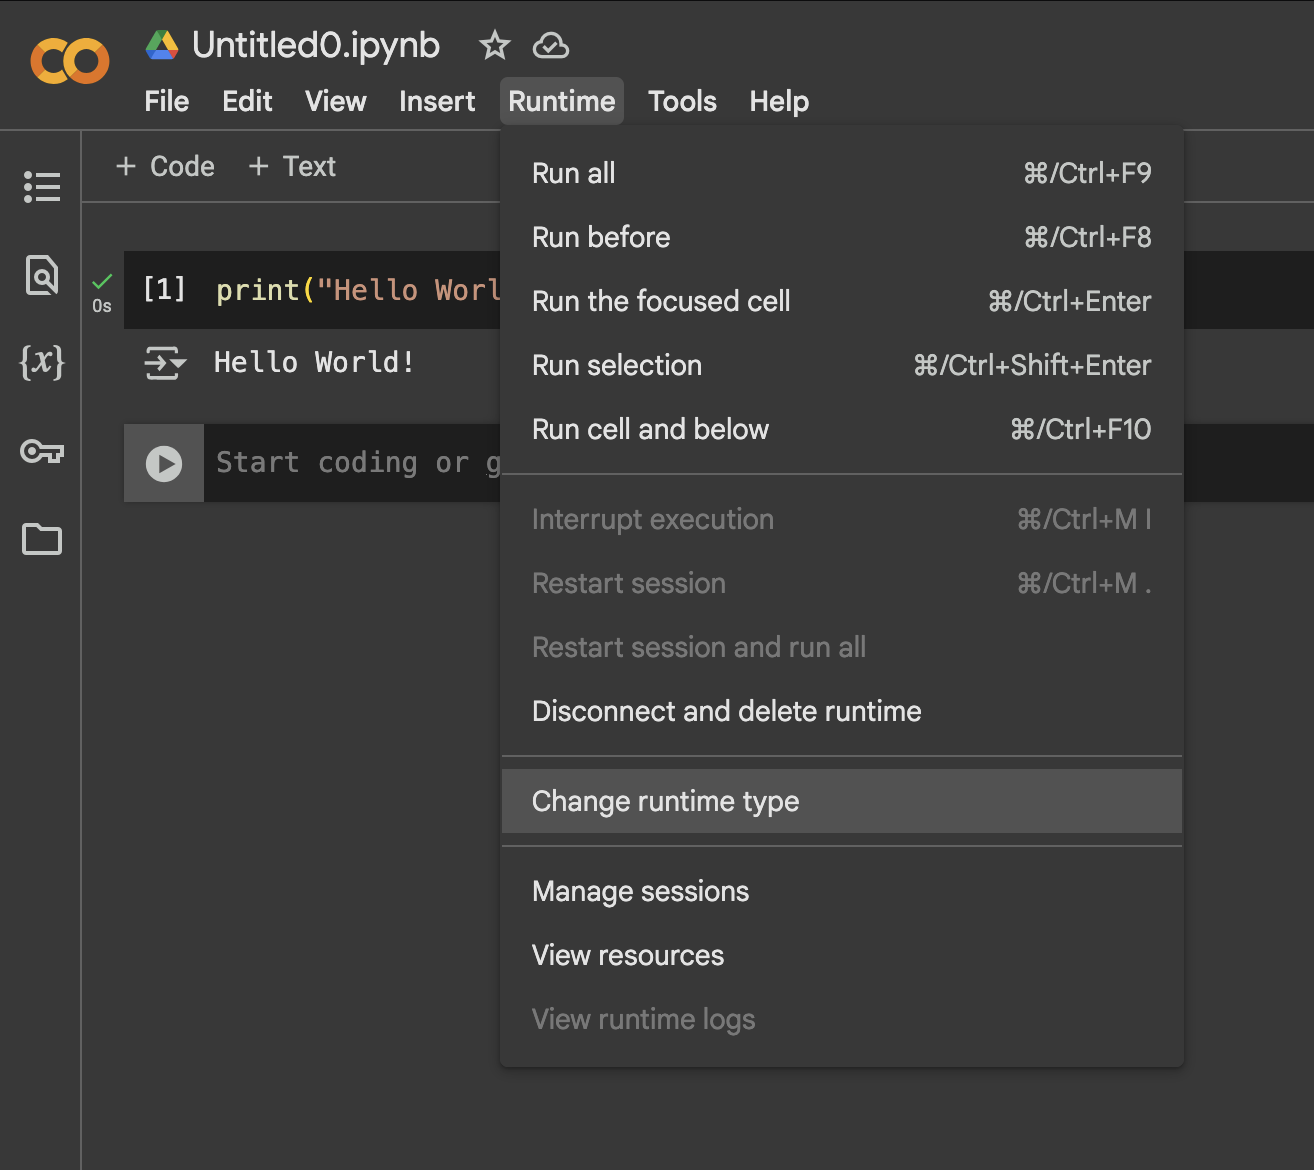
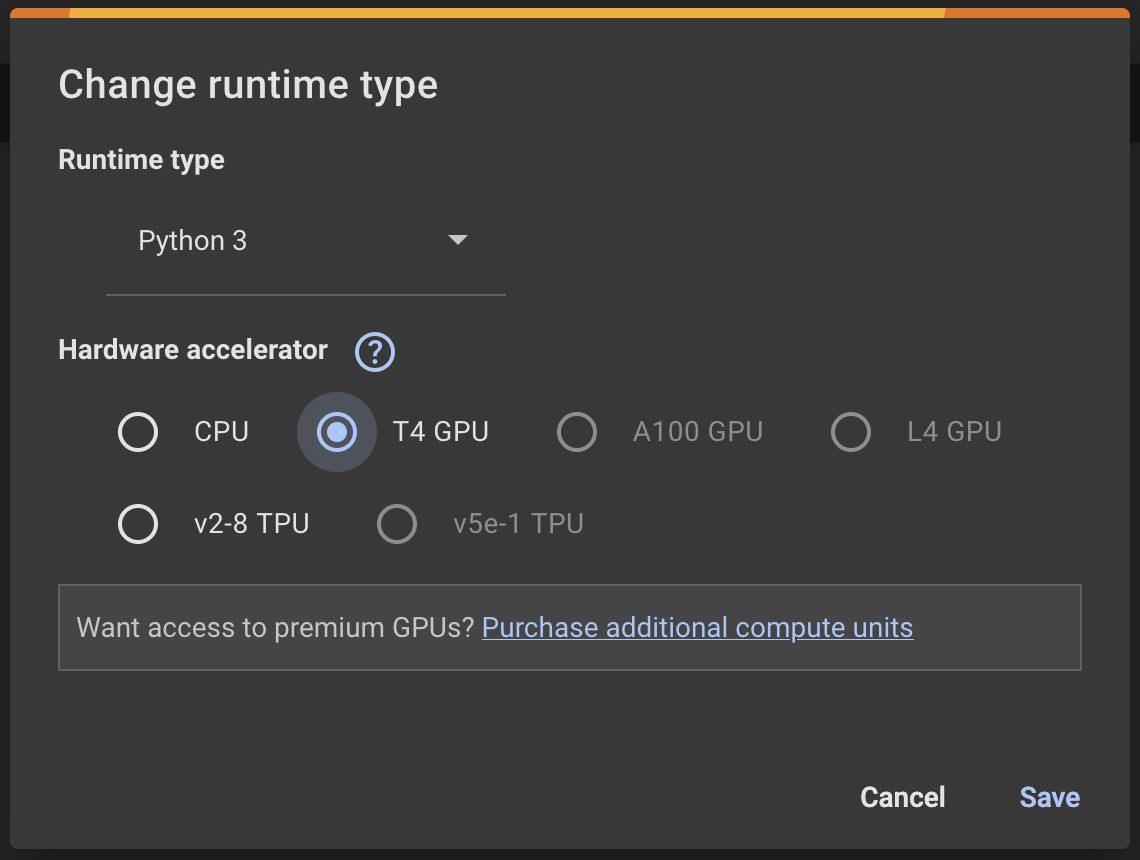
When working on deep-learning projects, you will need to change from CPU to GPU. To do this, click Runtime → Change runtime type, then select T4 GPU. Then click Save.
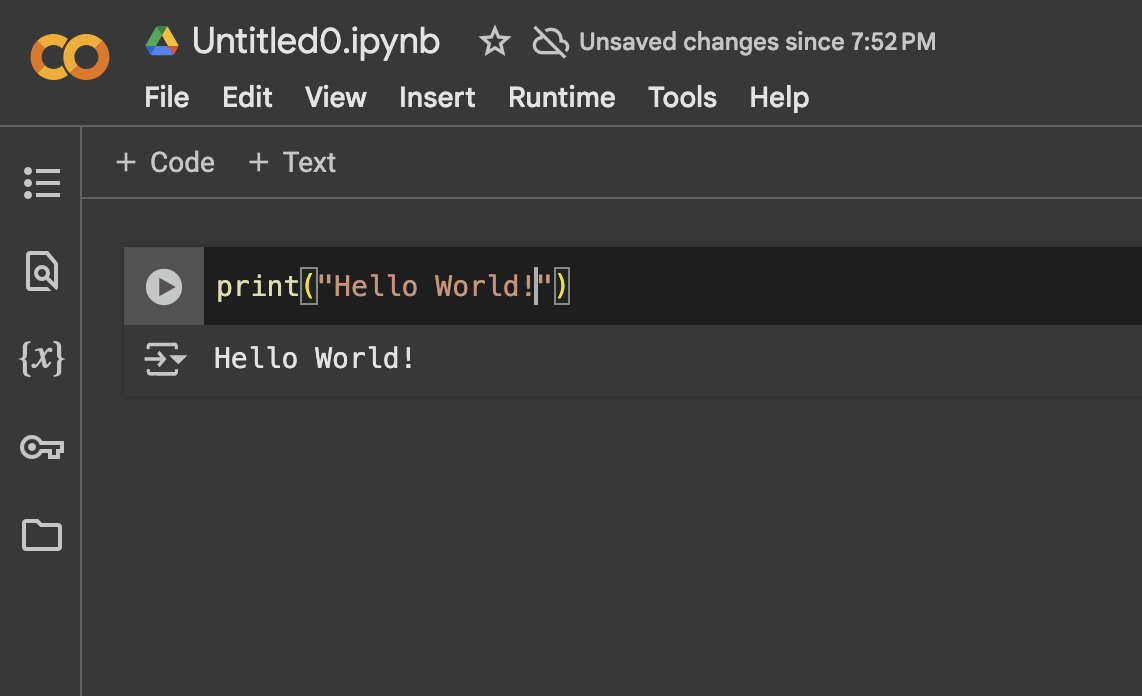
4. Run Python on Your Notebook
To execute Python code, click the ‘run’ button to the left of the cell. This is the circle with the triangle inside. Alternatively, you may select the cell you want to run and press “Shift + Enter”, this will start the cell.
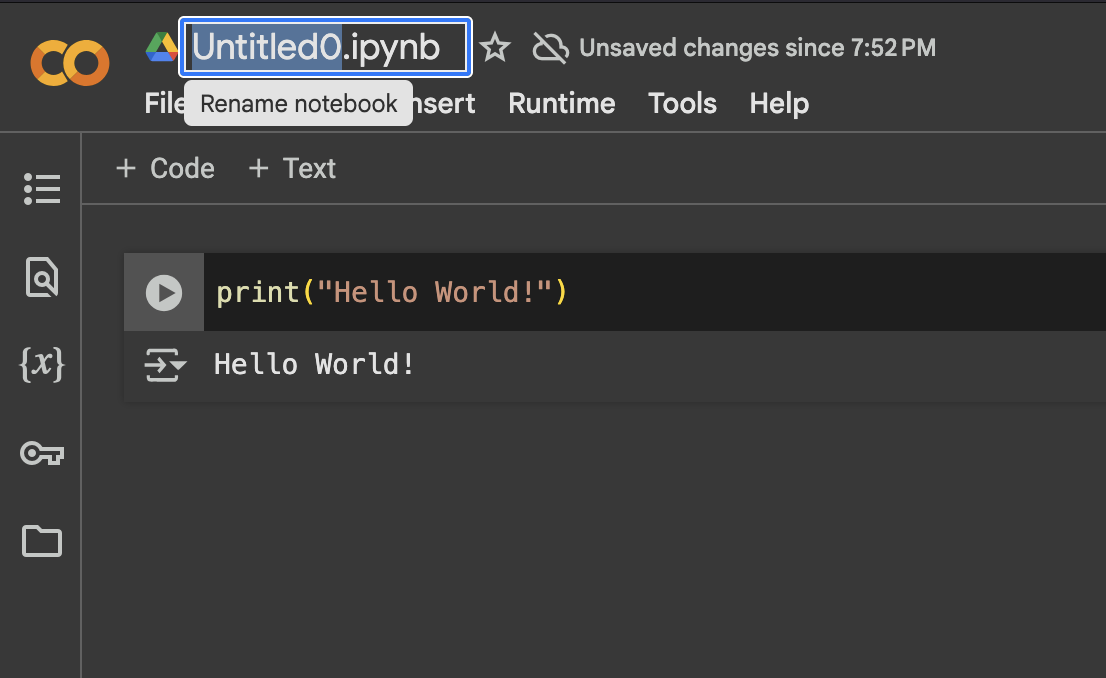
To change the title of your Google Colab notebook, just click on the title and rename as you wish.
5. Mounting Google Drive
More often than not, you would need to work with your own data that is uploaded on your drive. You can access that data in your notebook by mounting your google drive. Here is how to do it:

Run the code cell, this will show a popup to connect your google drive. Follow it to grant specific access permissions:

Once mounted, you can access the files uploaded in your drive.
6. Accessing local files:
Alternatively, you can access and upload local files from your system using this code:

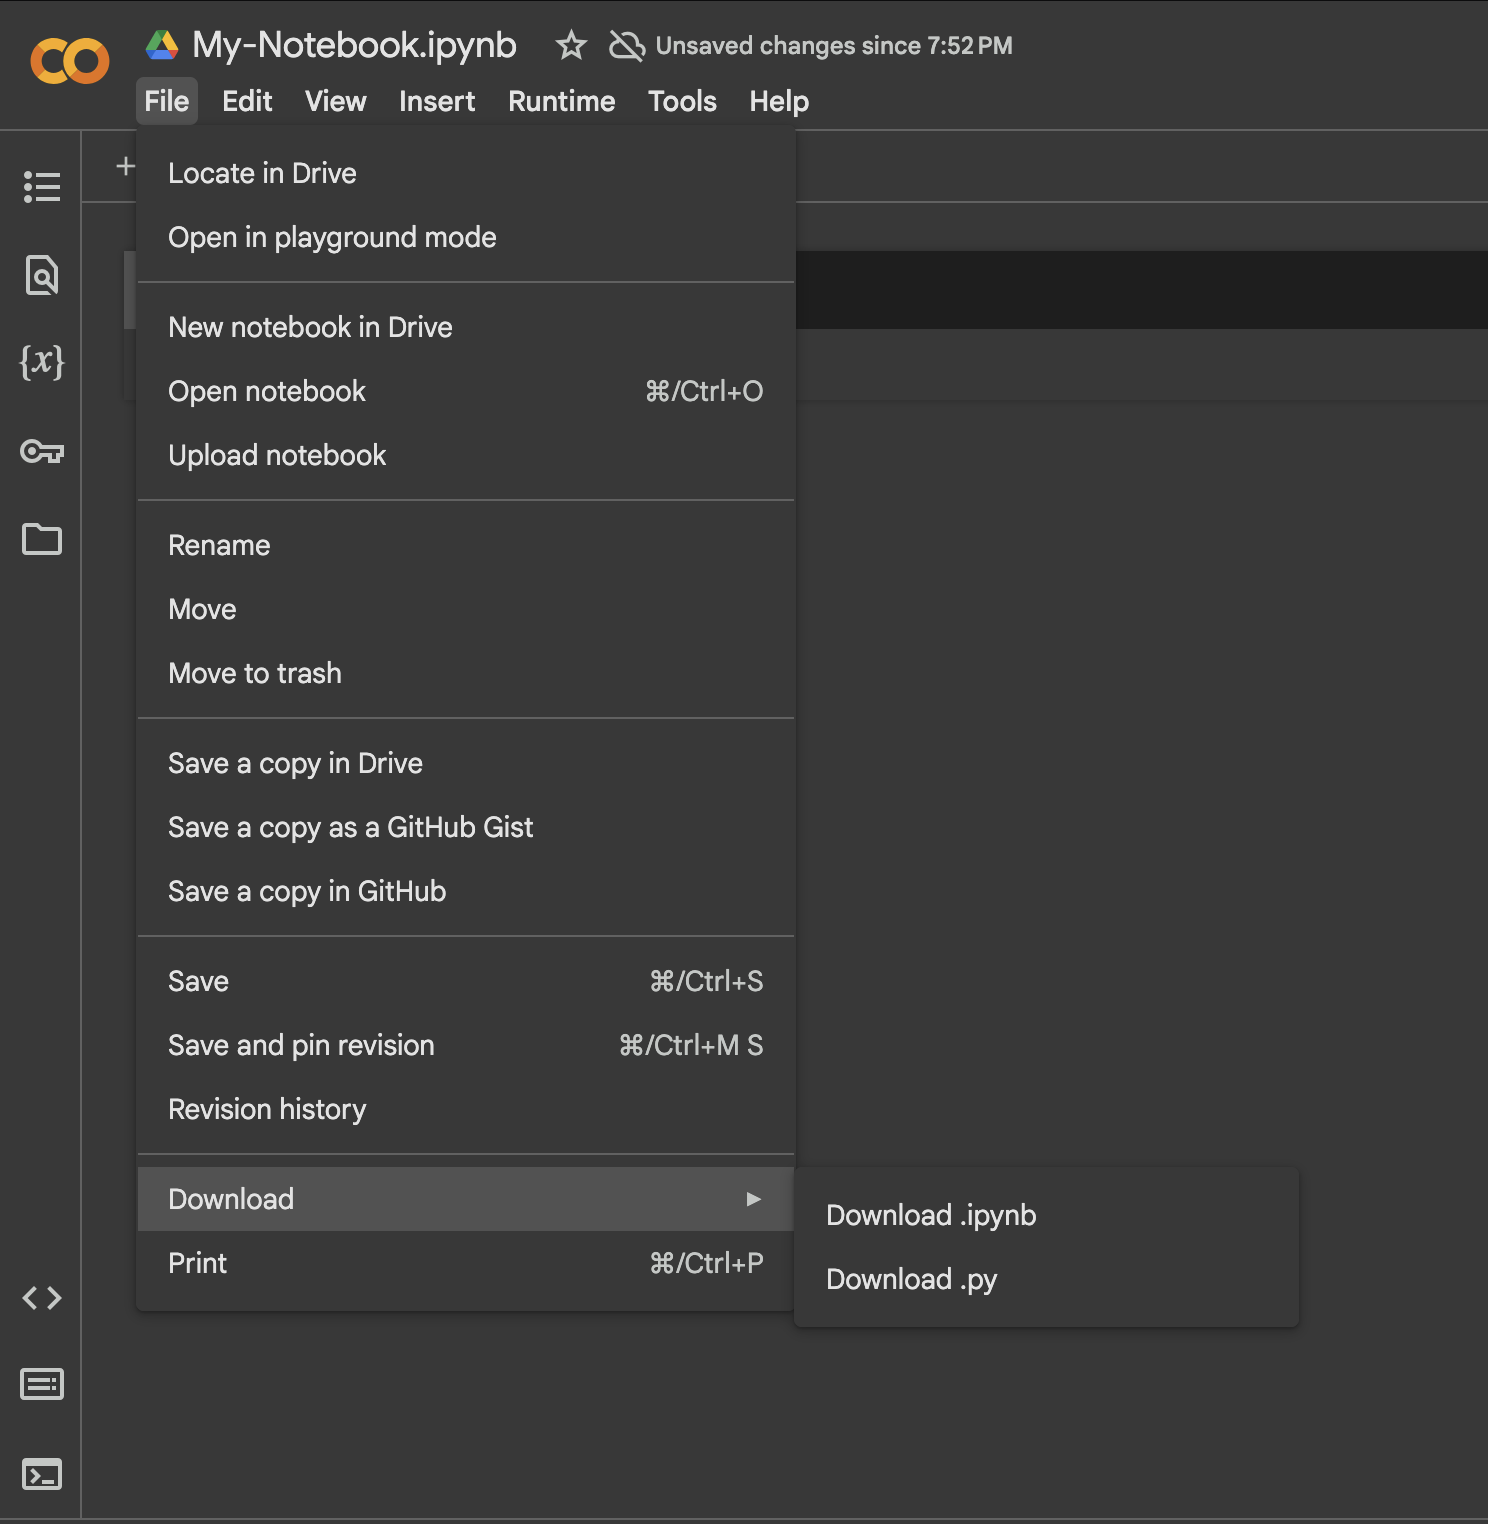
7. Download your notebook
To save a copy of your notebook on your local computer. You can navigate to File → Download and pick the appropriate extension.
Conclusion
The tutorial walks us through key functionality including how to mount Google Drive for accessing data, upload local files, and download notebooks in various formats. We learned that Colab’s integration with Google’s ecosystem makes it particularly valuable for collaboration and automatic saving of work. While the platform does have some limitations regarding session duration and resource usage, its combination of free GPU access, seamless collaboration features, and browser-based accessibility makes it an invaluable tool for developers, data scientists, and students alike.
The post Getting Started with Google Colab: A Beginner’s Guide to Free Cloud Computing appeared first on MarkTechPost.
